Final Computer Art Project
Check out more in depth information about this project on my Behance (https://www.behance.net/gallery/32882619/Communist-Daughter-Stop-Motion).
Final Computer Art ProjectCheck out more in depth information about this project on my Behance (https://www.behance.net/gallery/32882619/Communist-Daughter-Stop-Motion).
0 Comments
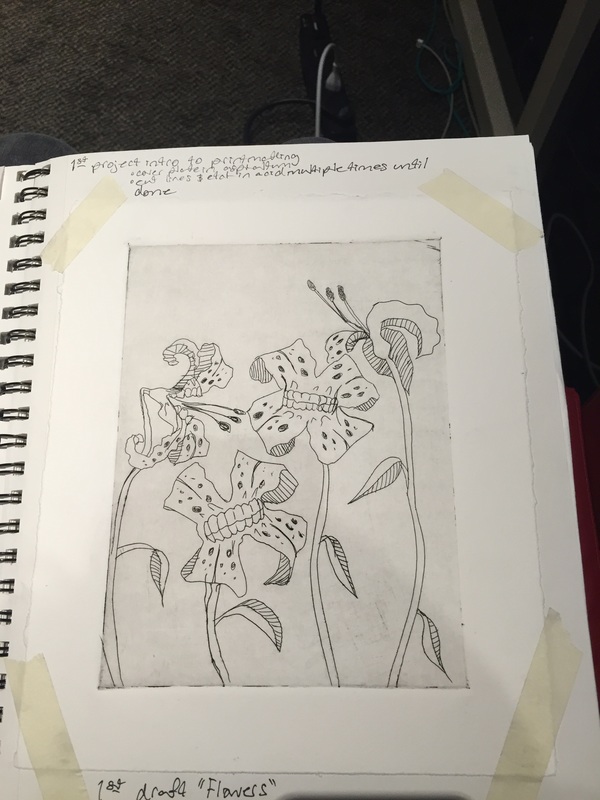
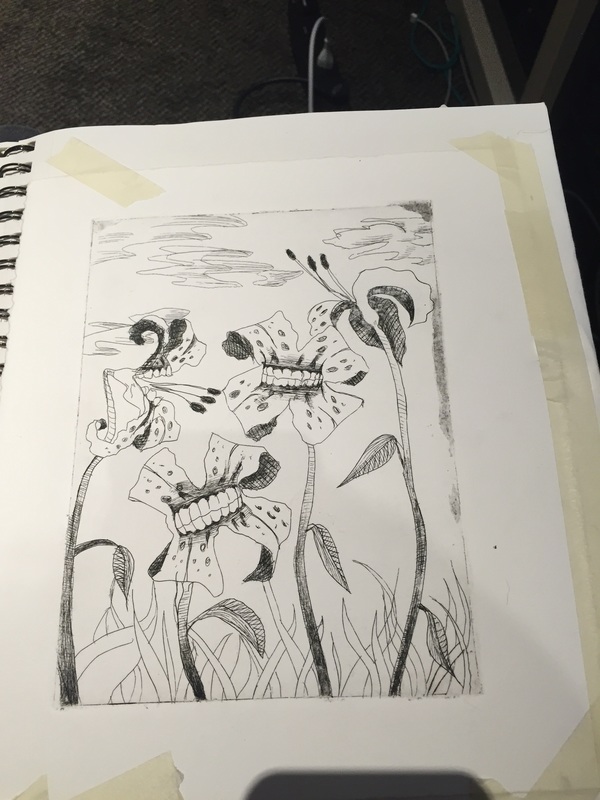
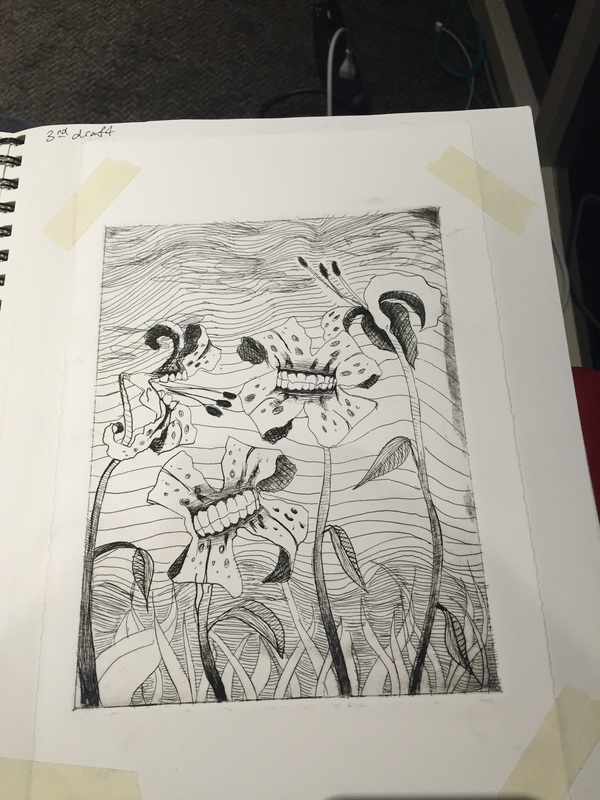
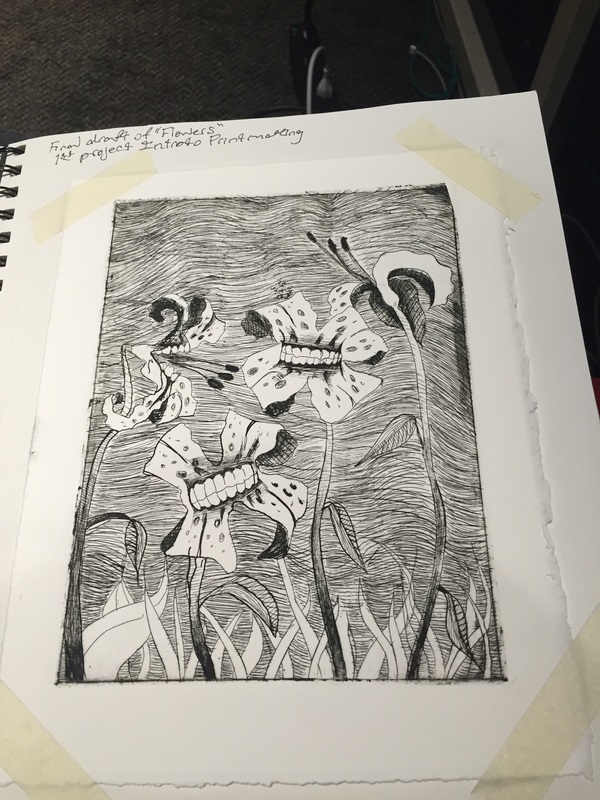
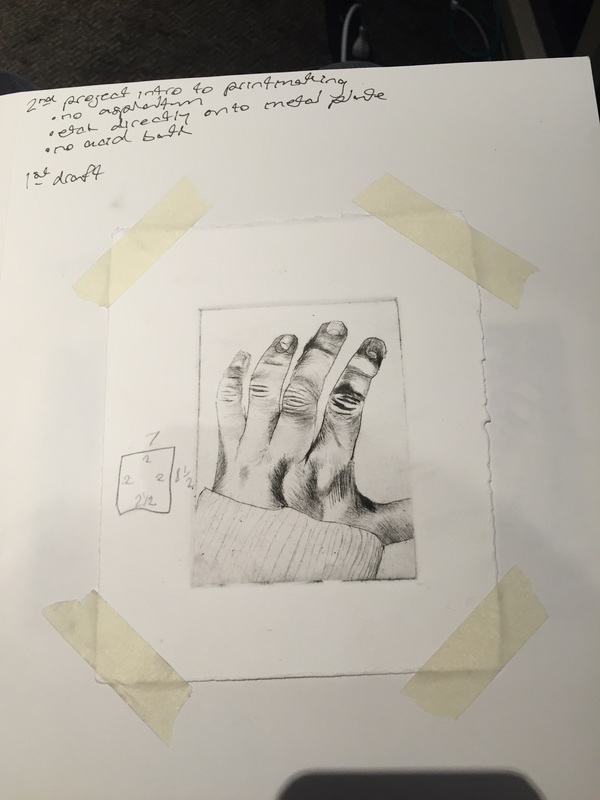
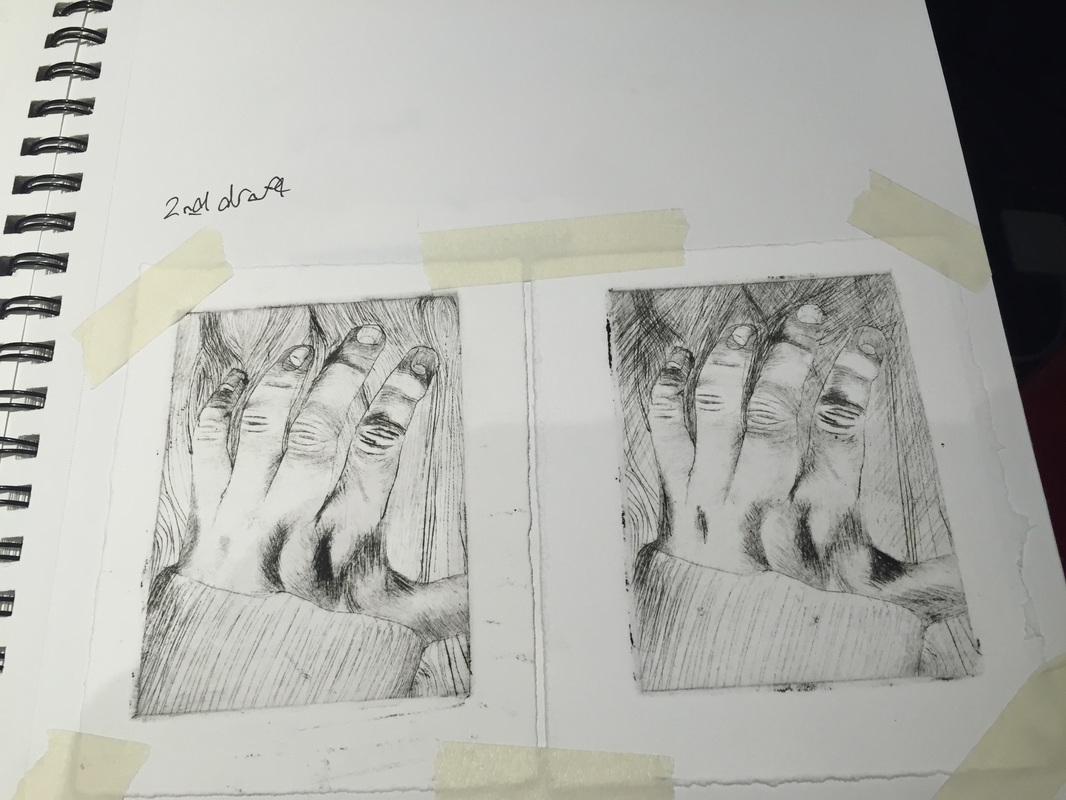
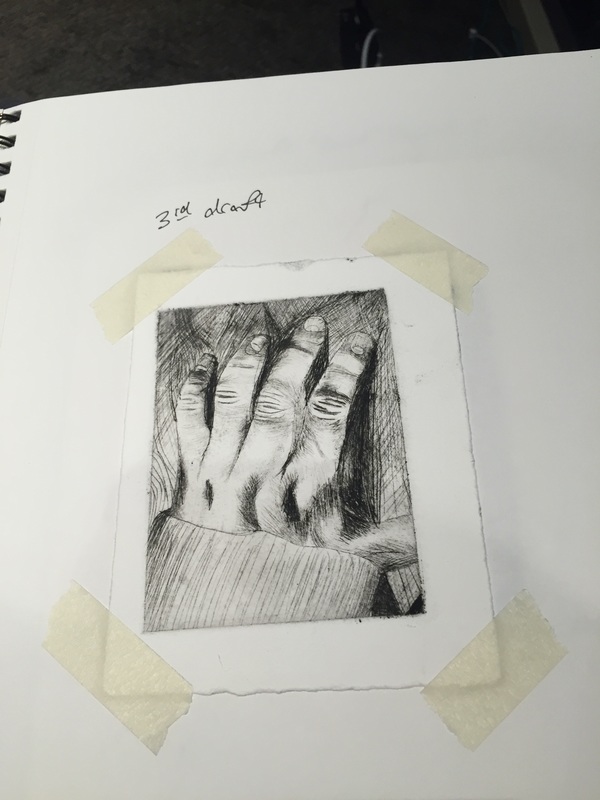
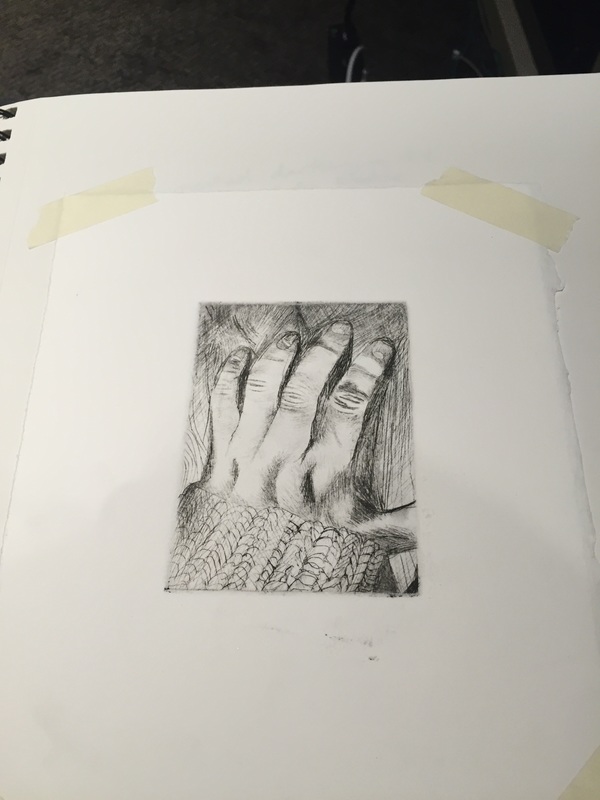
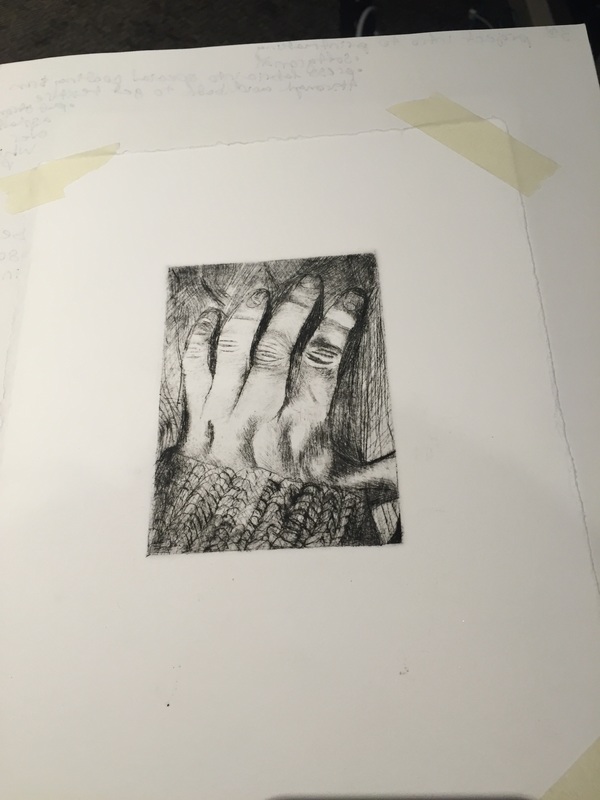
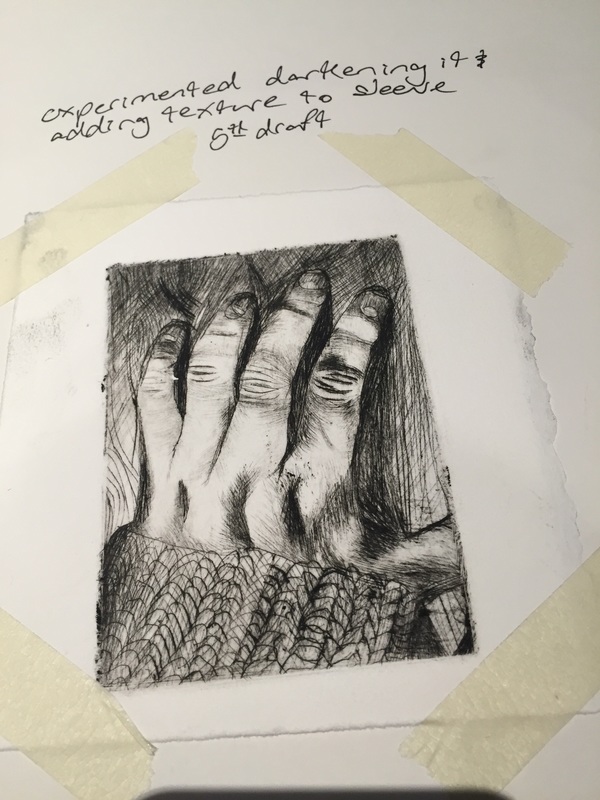
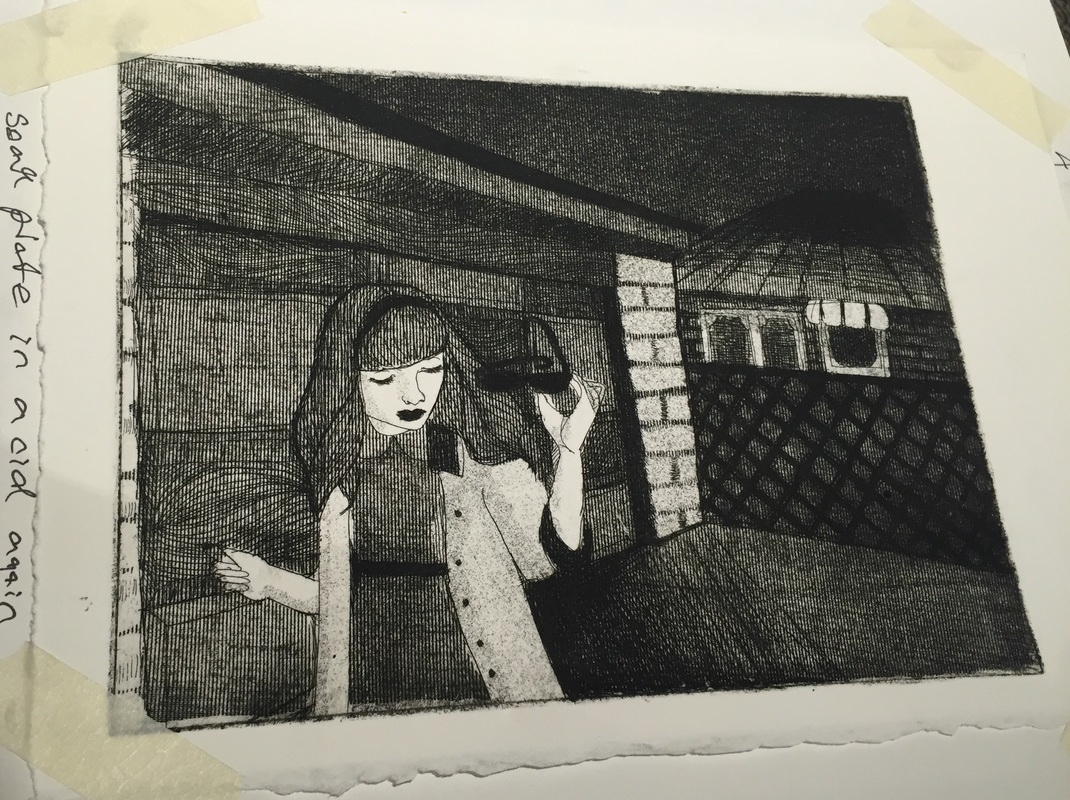
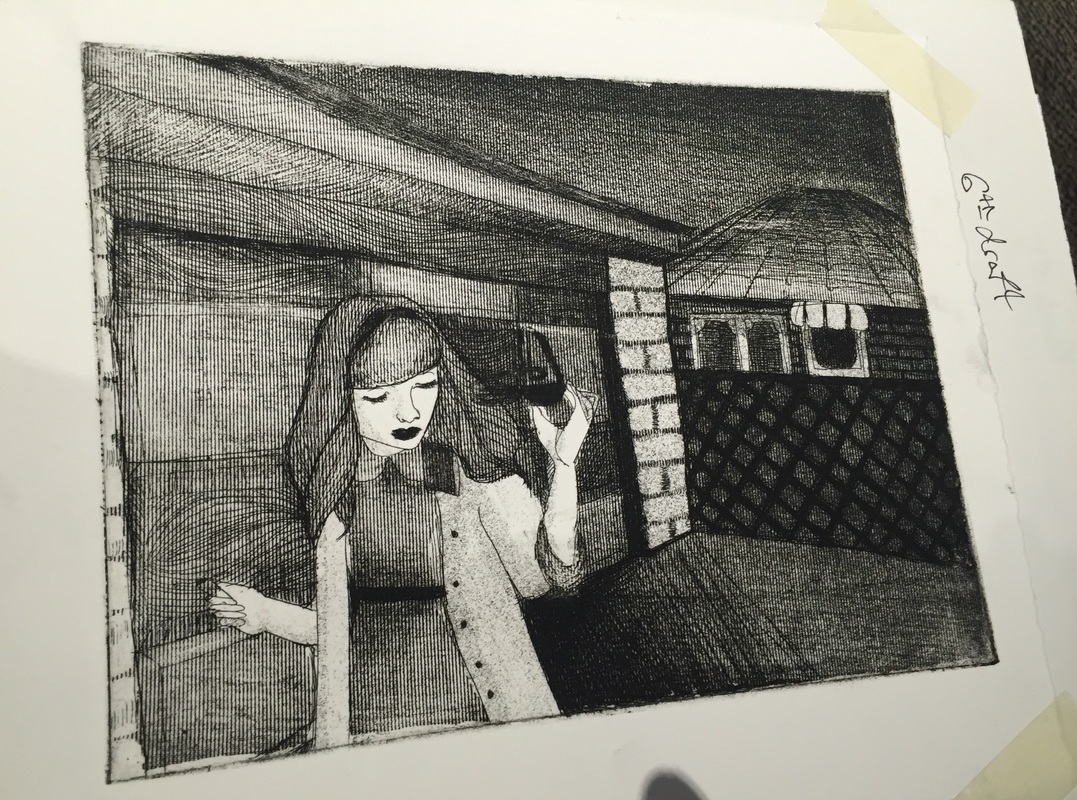
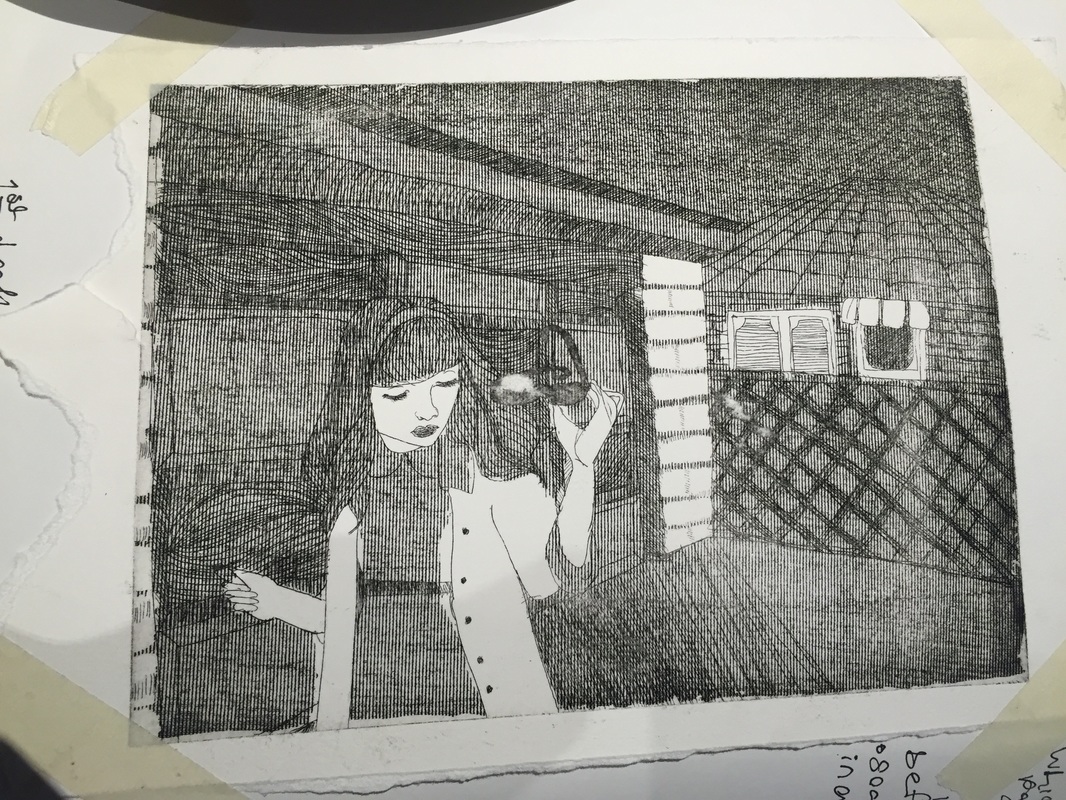
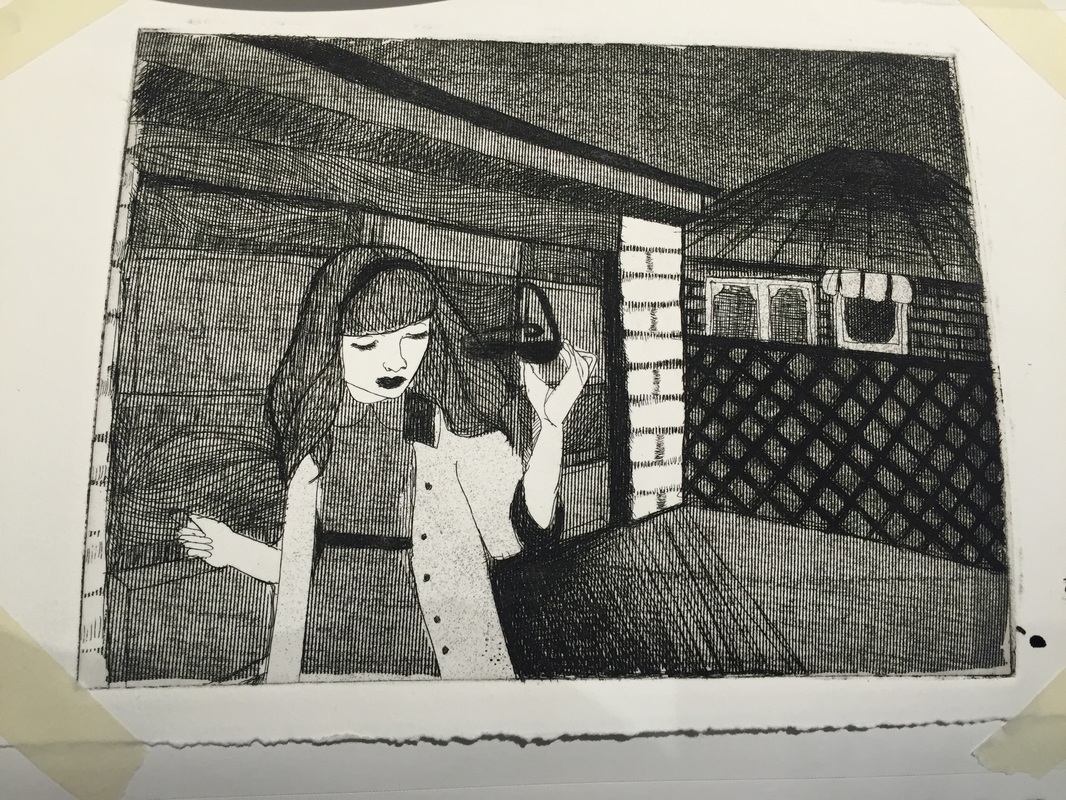
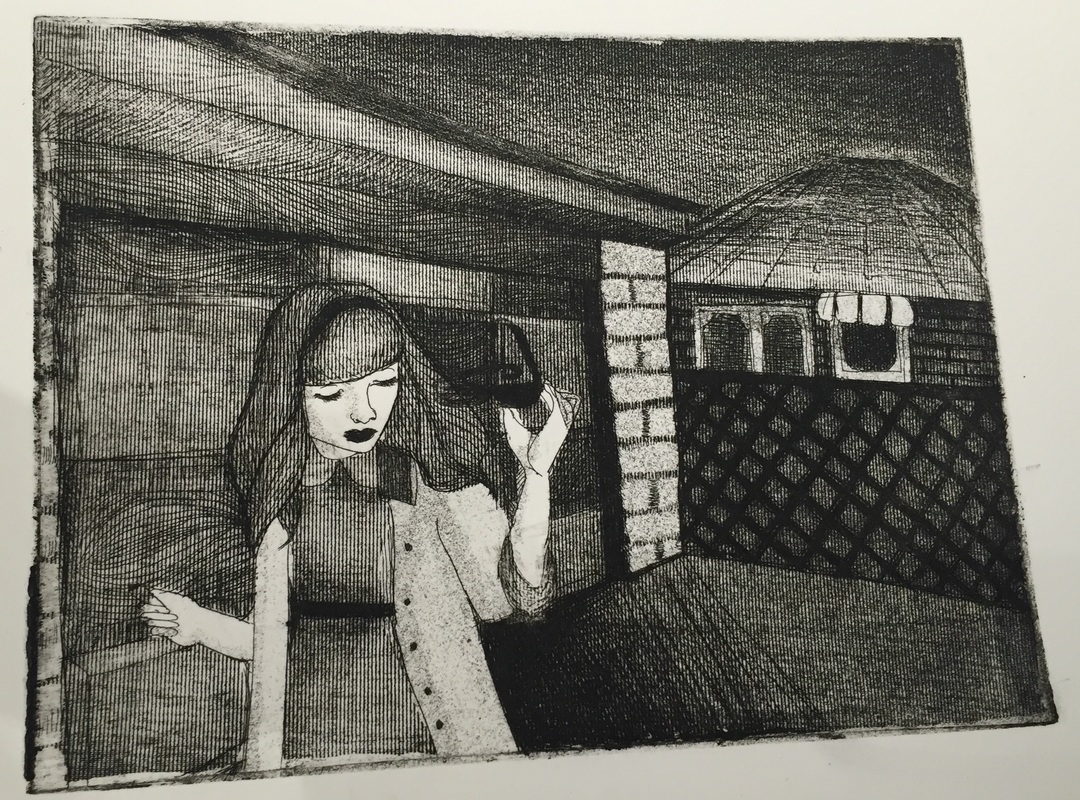
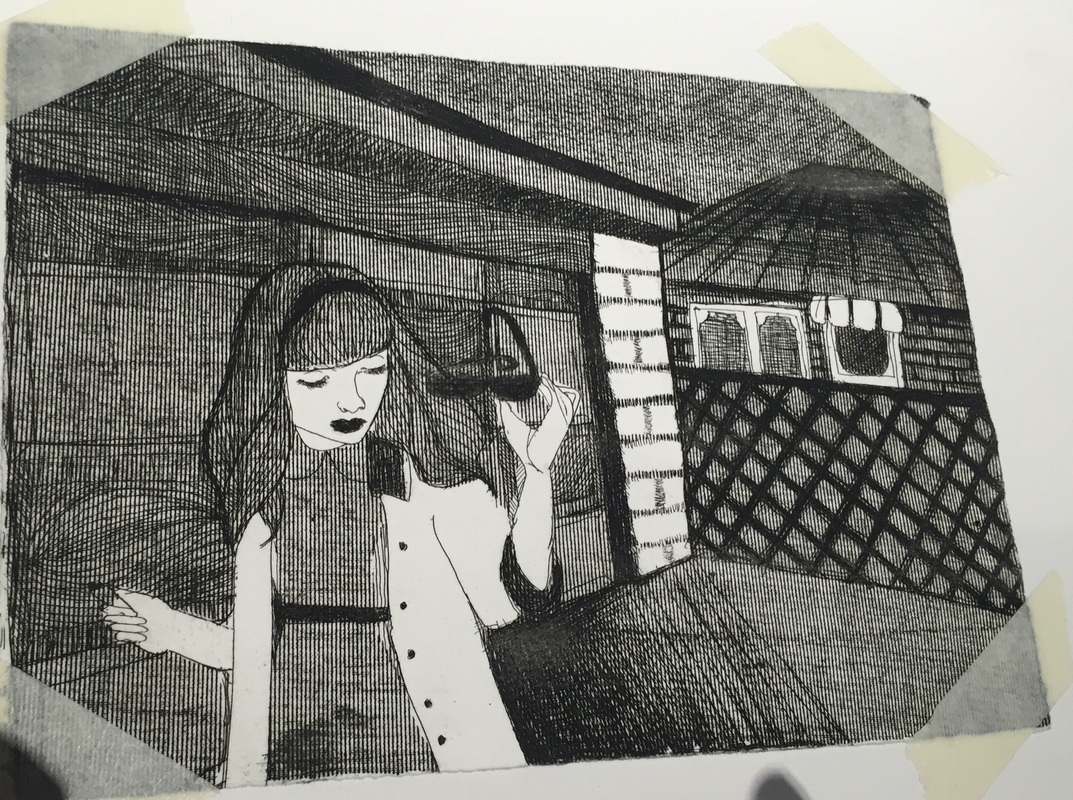
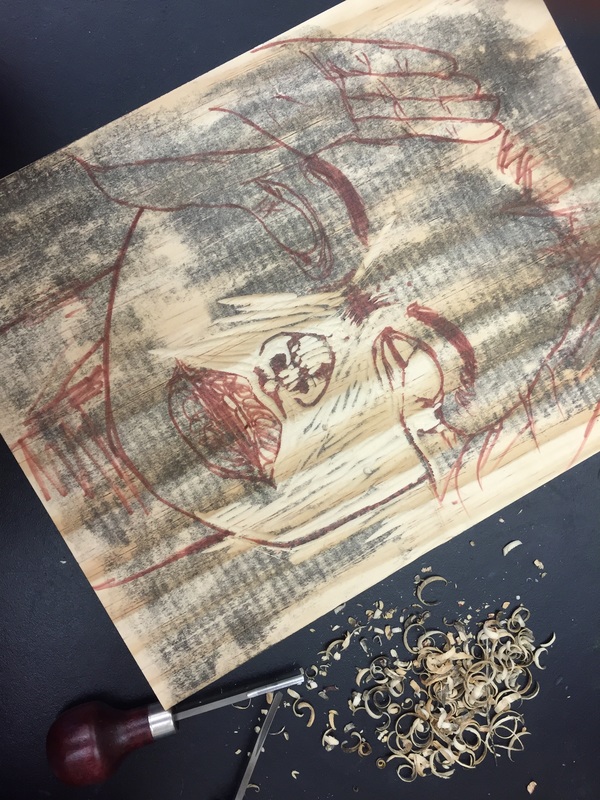
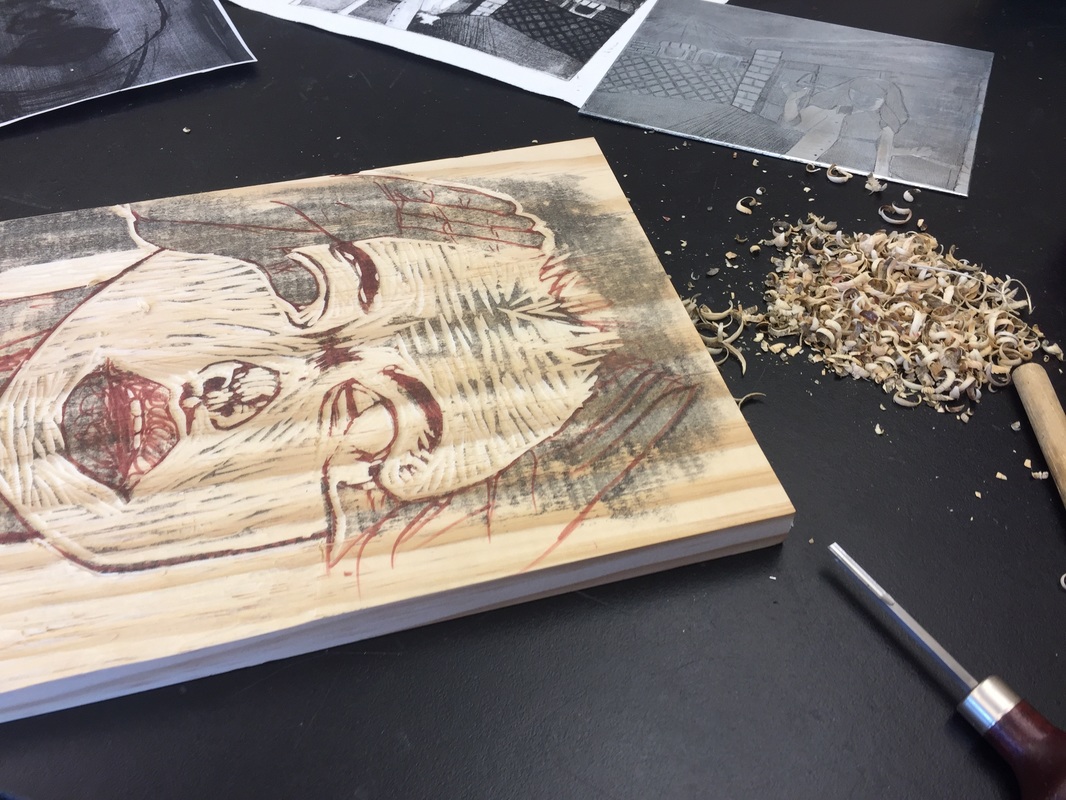
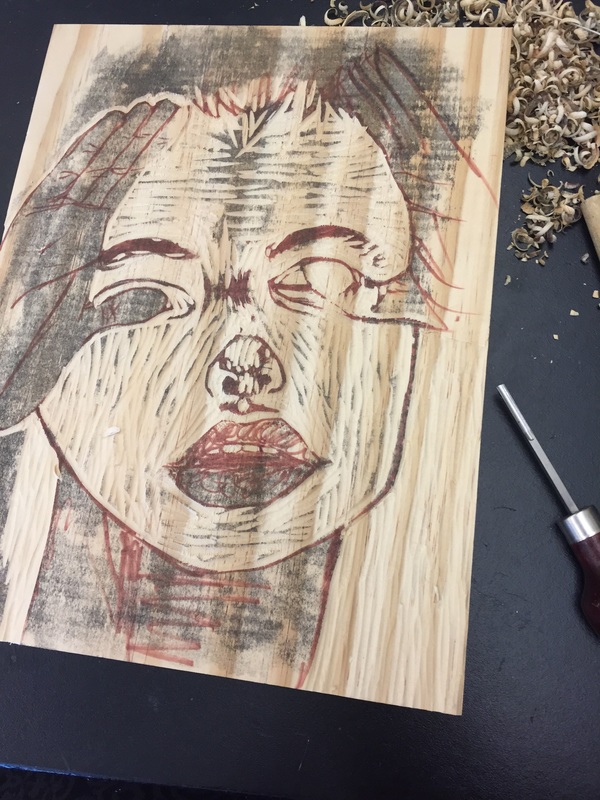
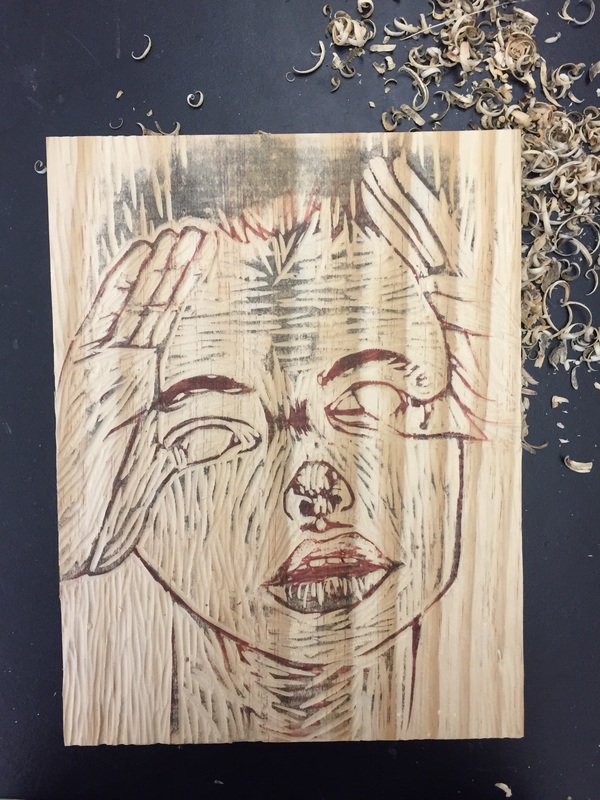
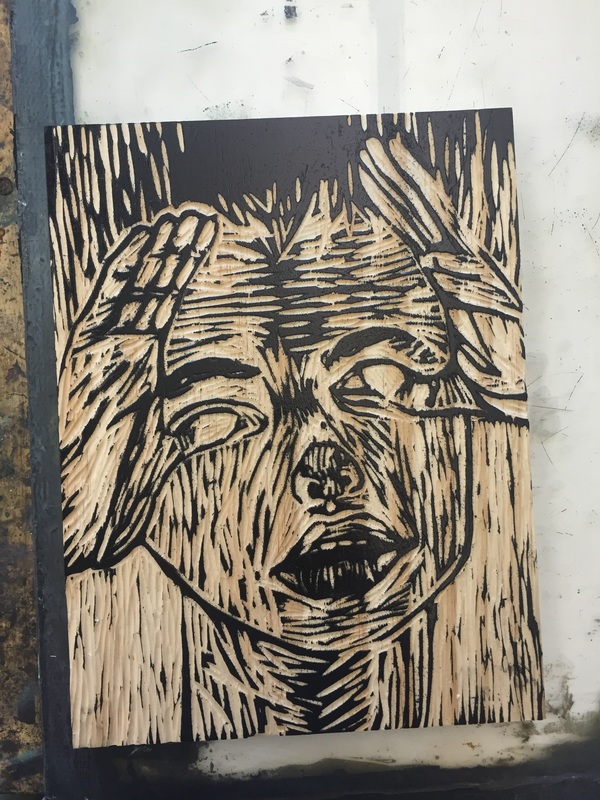
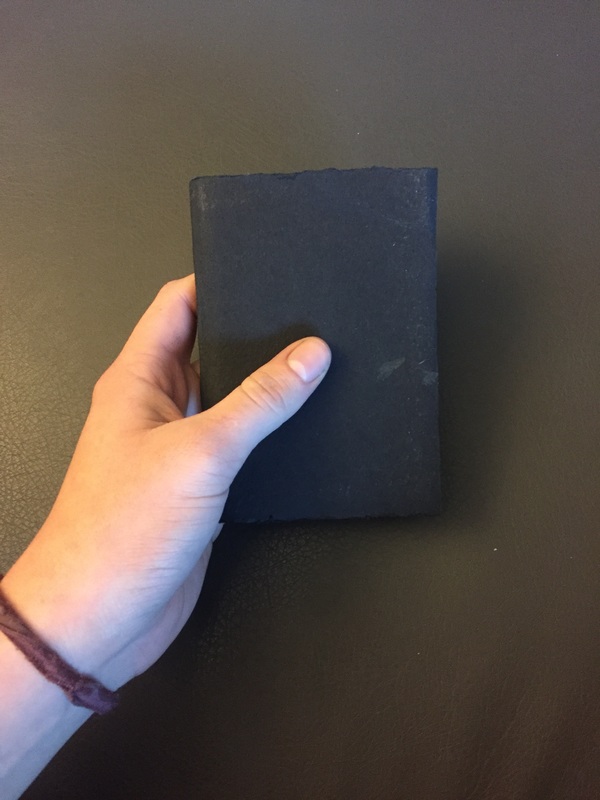
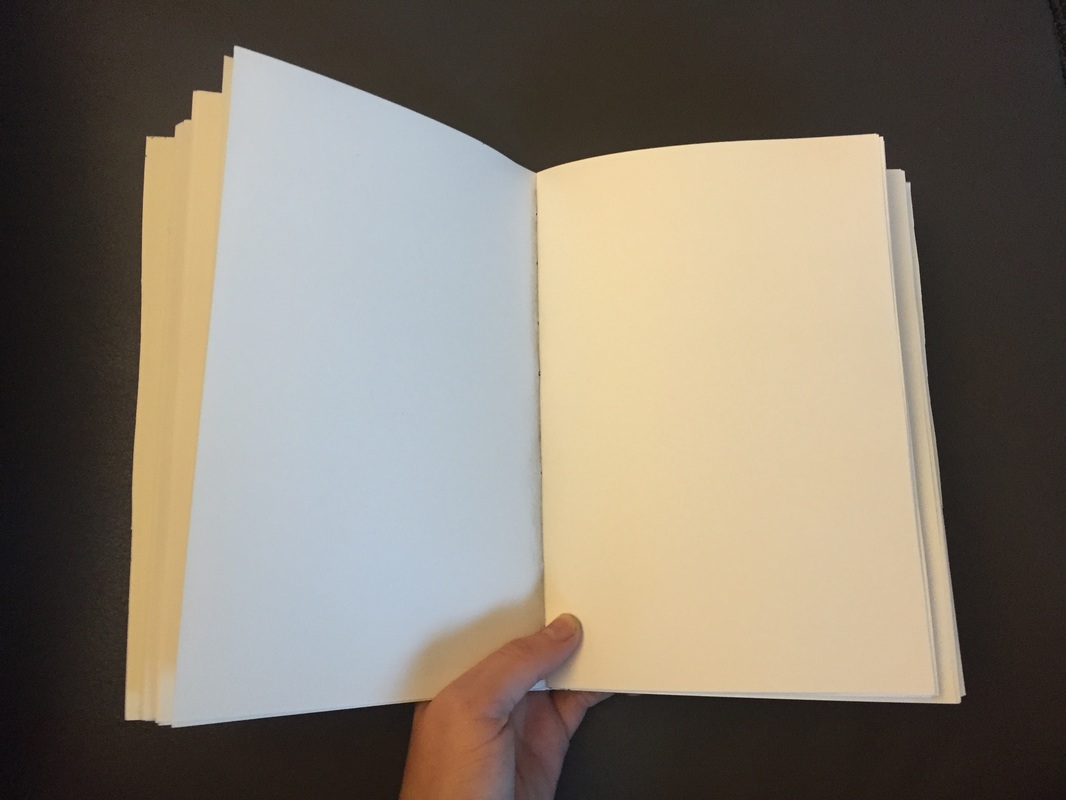
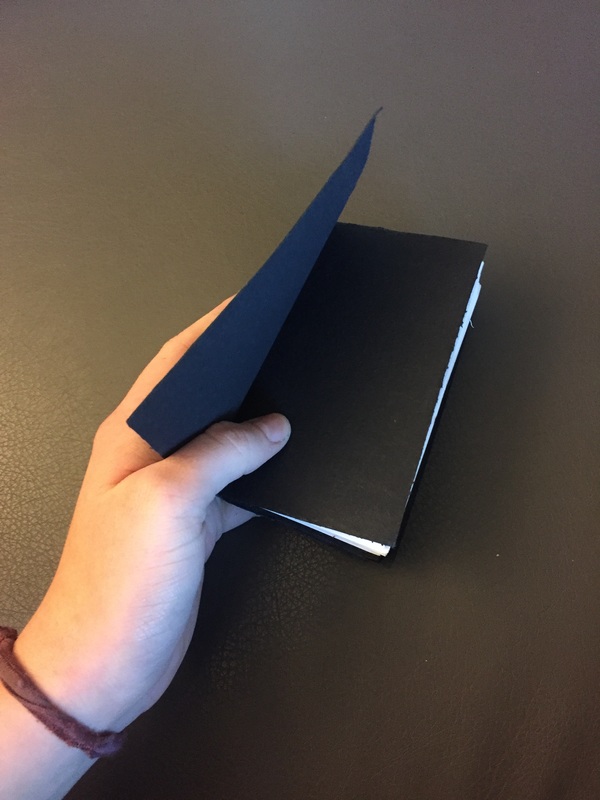
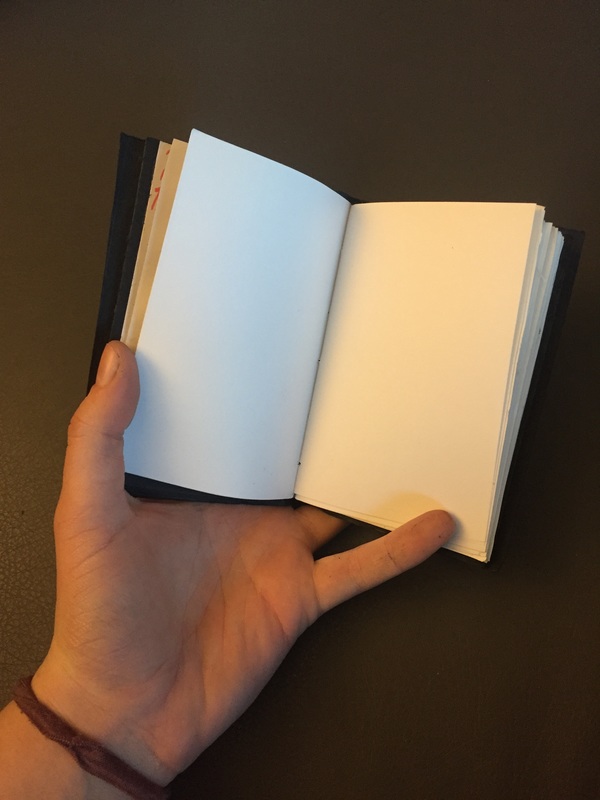
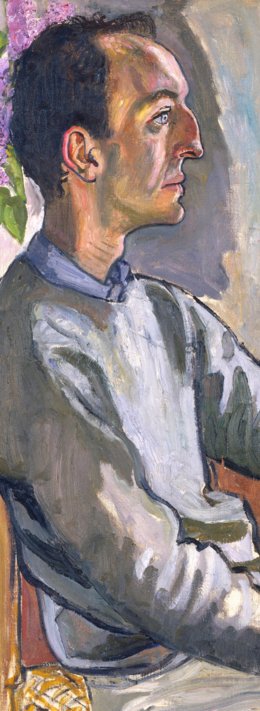
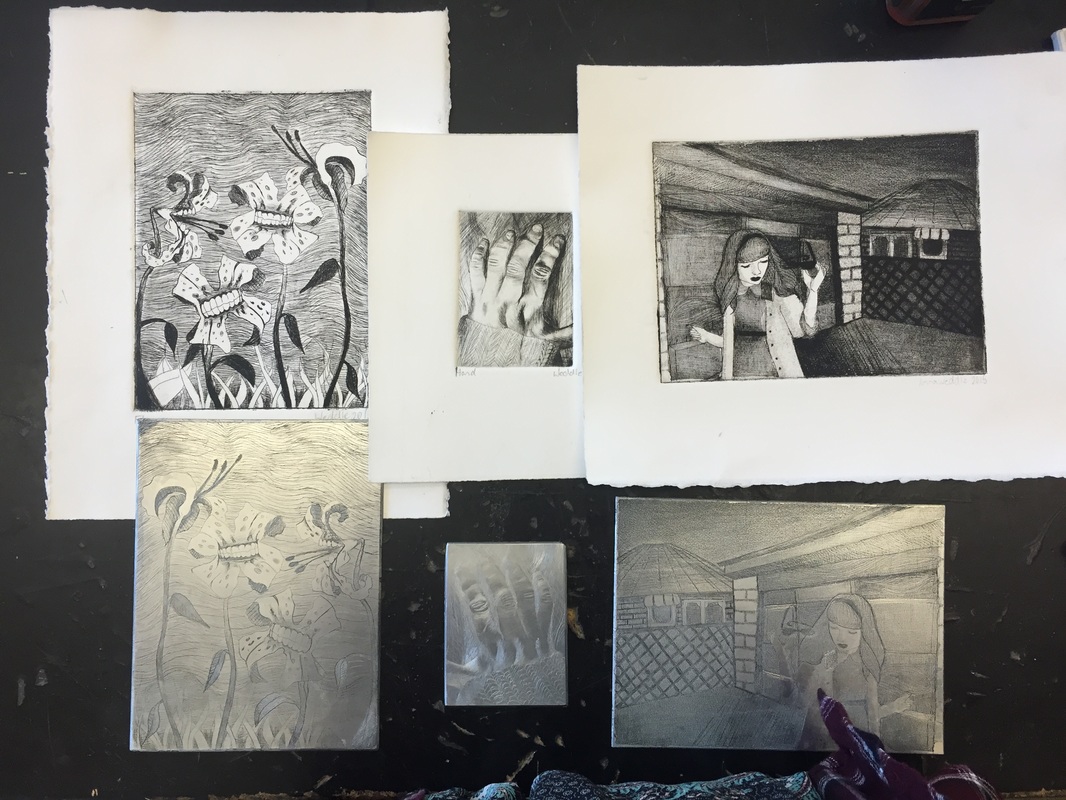 First Project - Intaglio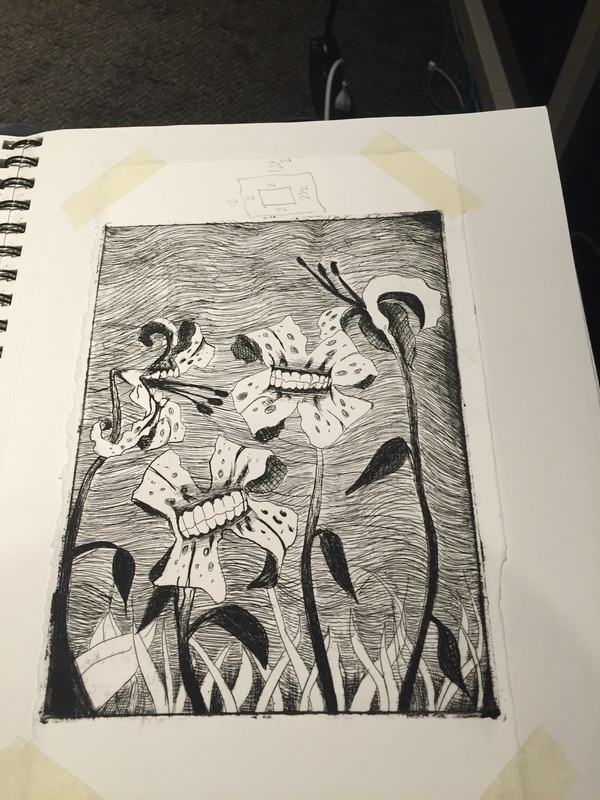 ProcessSecond Project - Drypoint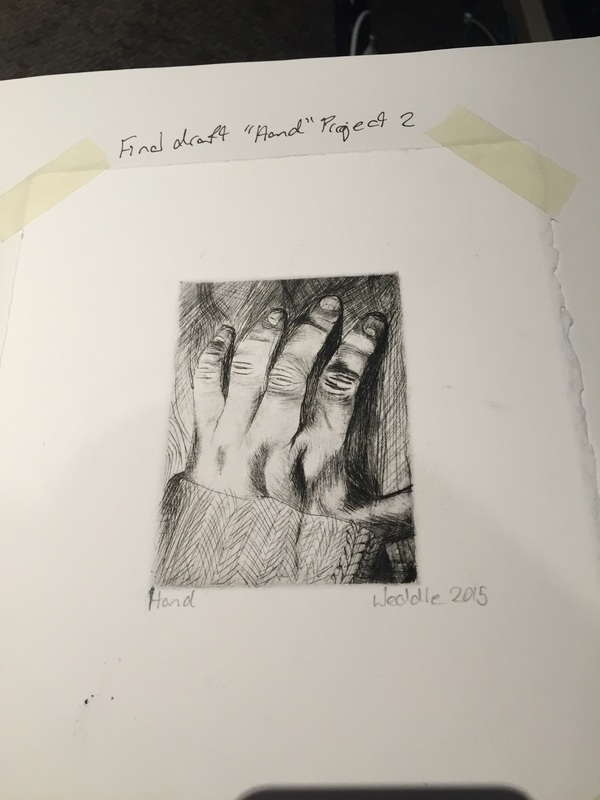 ProcessThird Project - Aquatint ProcessFinal Project - Wood cut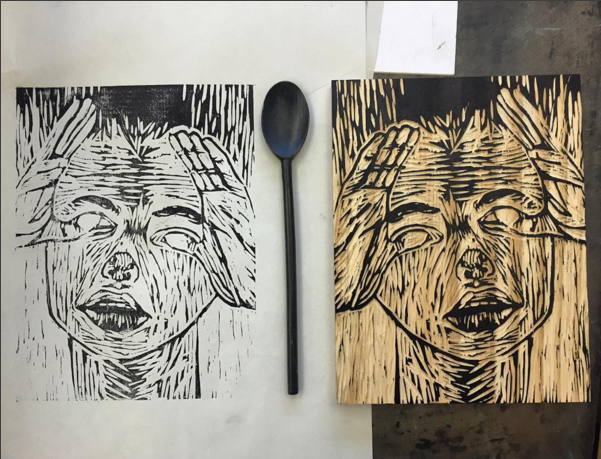 Body of Work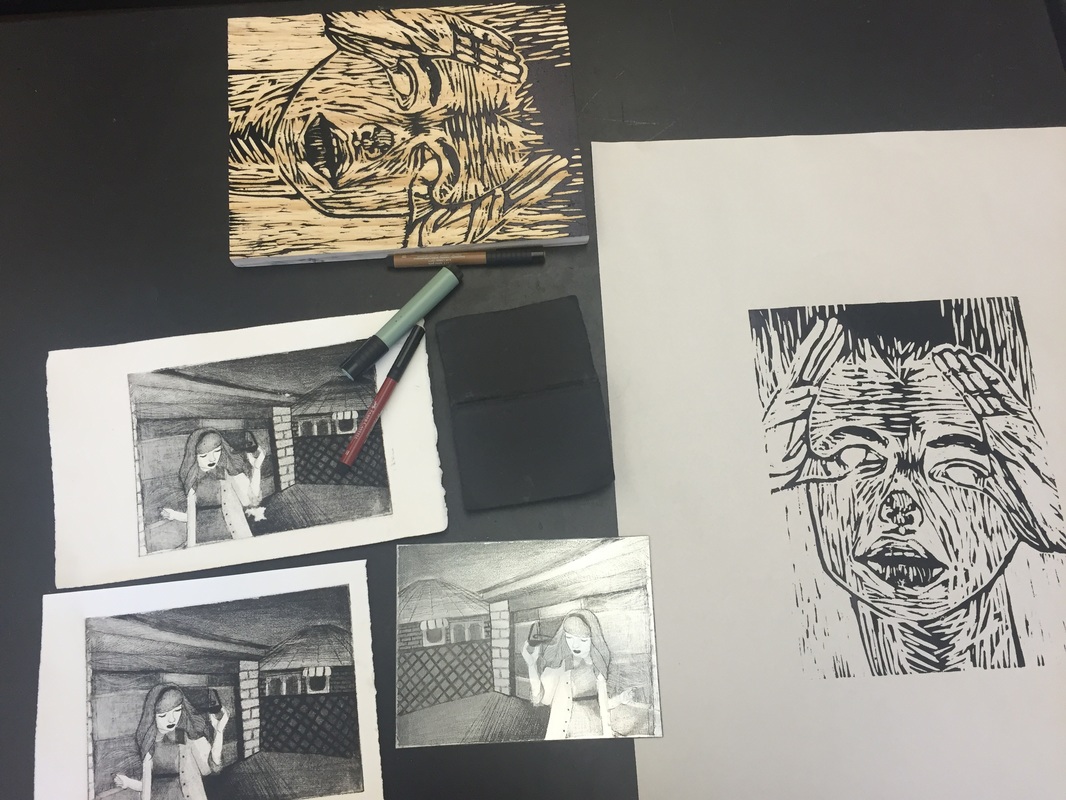  I designed a logo for my friend's website (https://sincerelyemmie.wordpress.com/). She wanted it to be simple and incorporate nature imagery so I decided to keep it just black and based it off a sketch I did of a bare tree branch that still had some red berries clinging to it in the winter. She put the logo on her website and I've since put it on a notebook for her to use, etching it into the cover using a laser cutter. 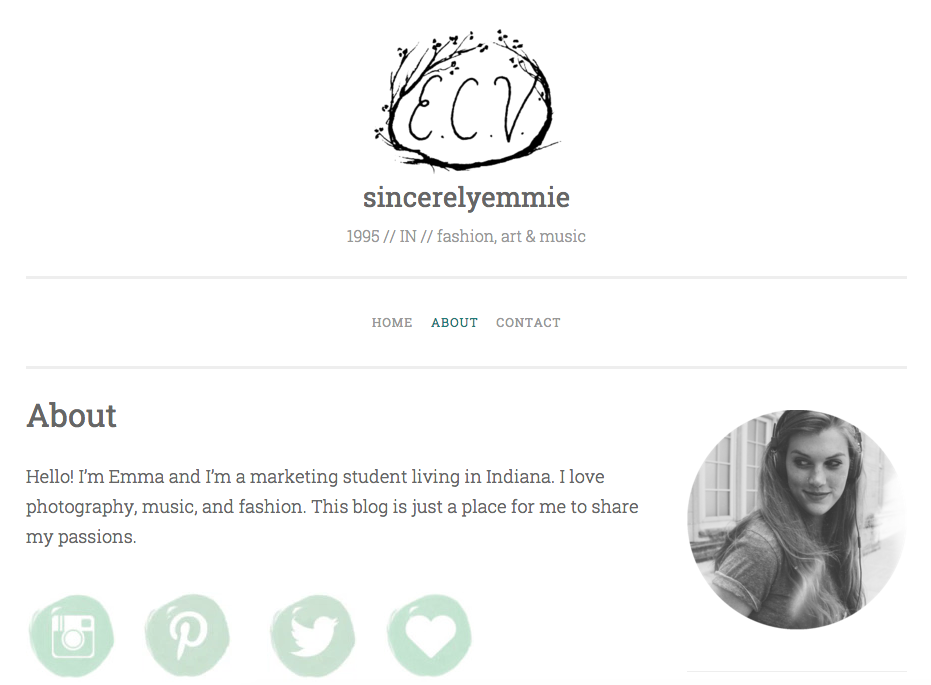 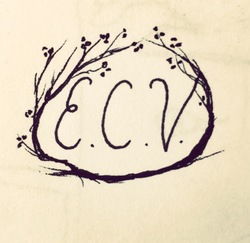 The original sketch. 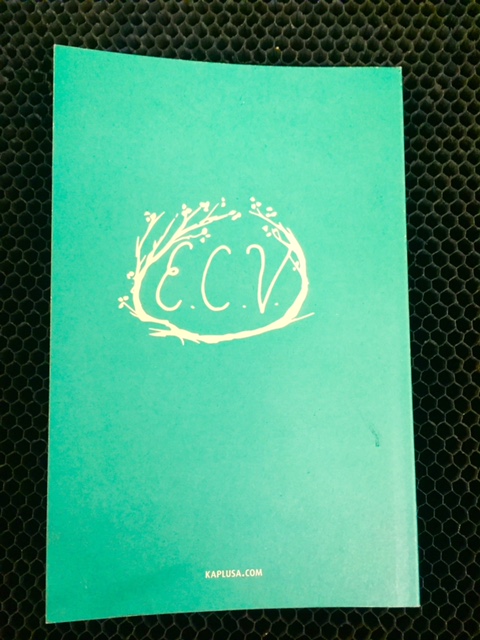 The notebook I did for her had a crosshatched flower I drew laser cut onto the front cover above her name. 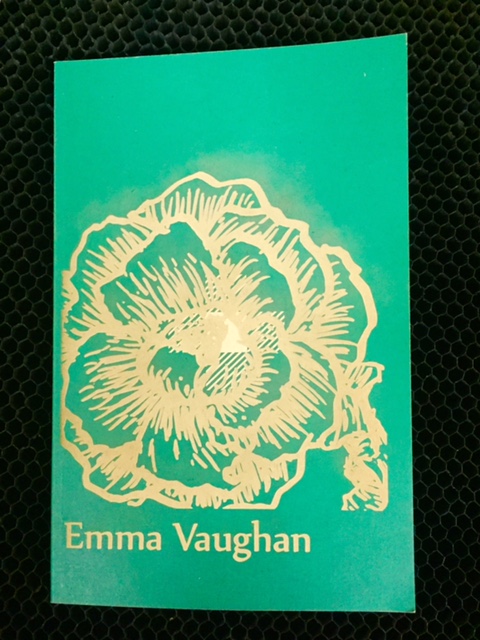 I did a book binding demo last year at art club and since then I've been wanting to get back into it. So I went to Art Mart and bought some paper, an awl, needles and waxed thread. I already owned a bone folder and paste. 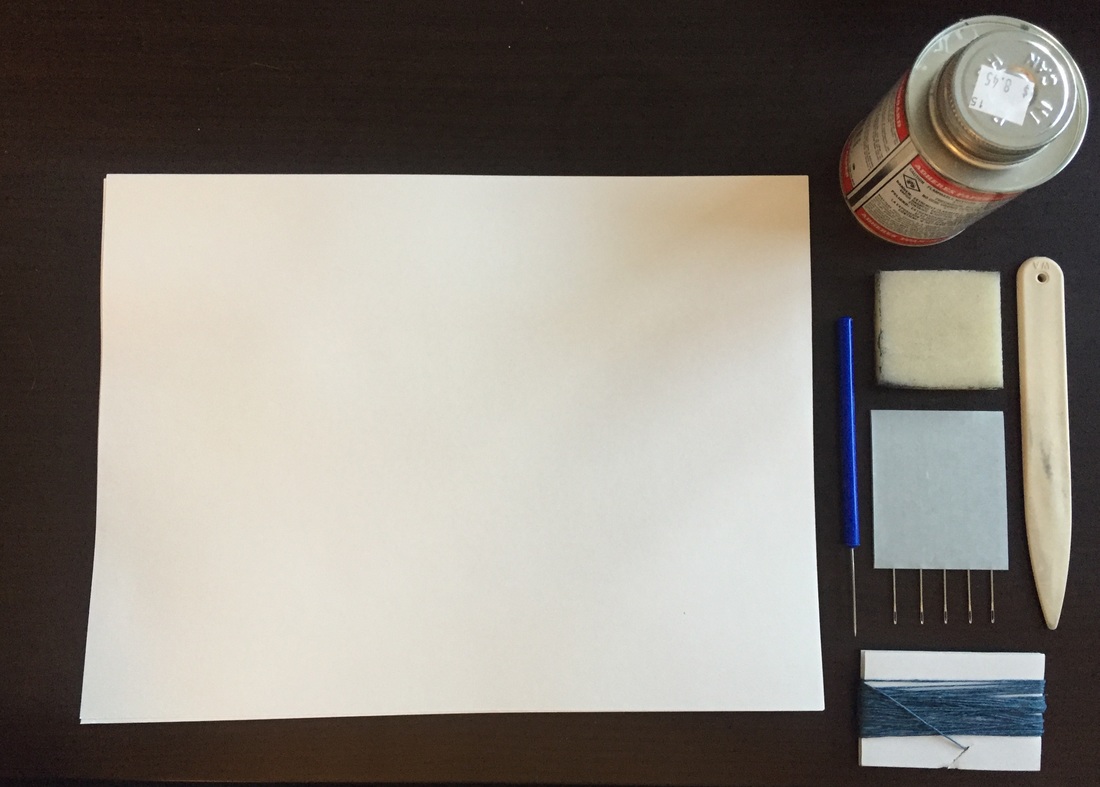 Starting out with four sheets at a time, I folded them in half and pressed the edges flat with the bone folder. 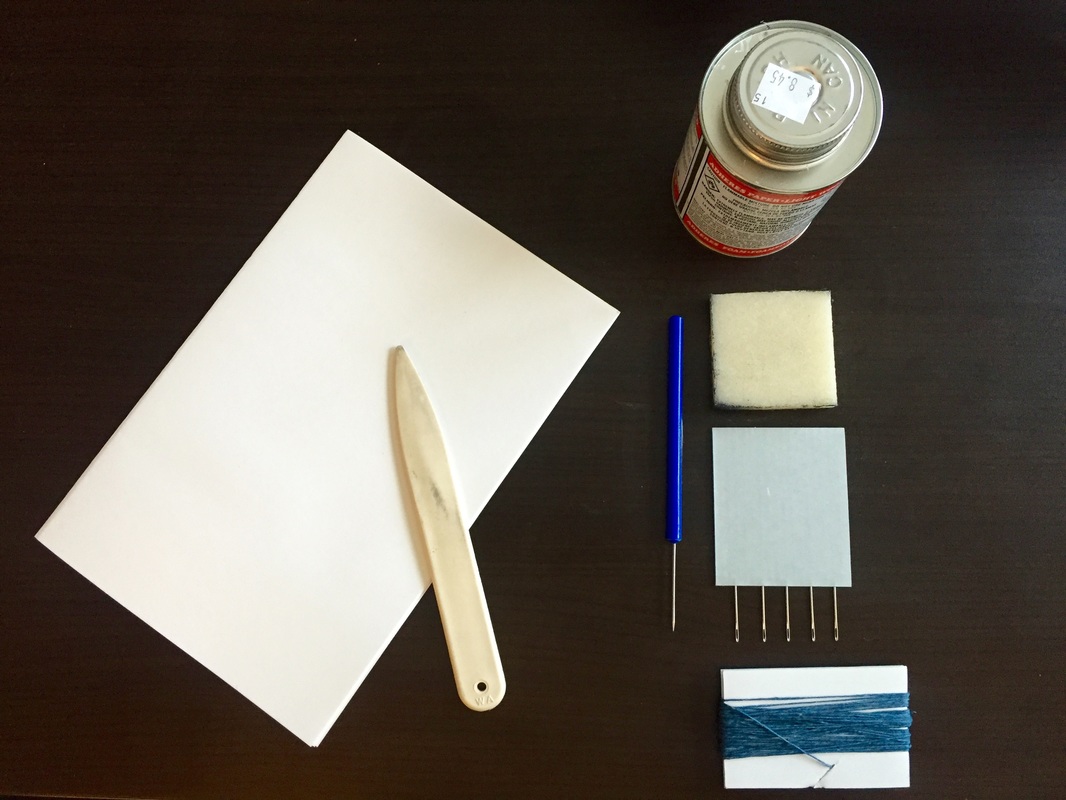 Using the awl I punched holes in the crease in the middle. 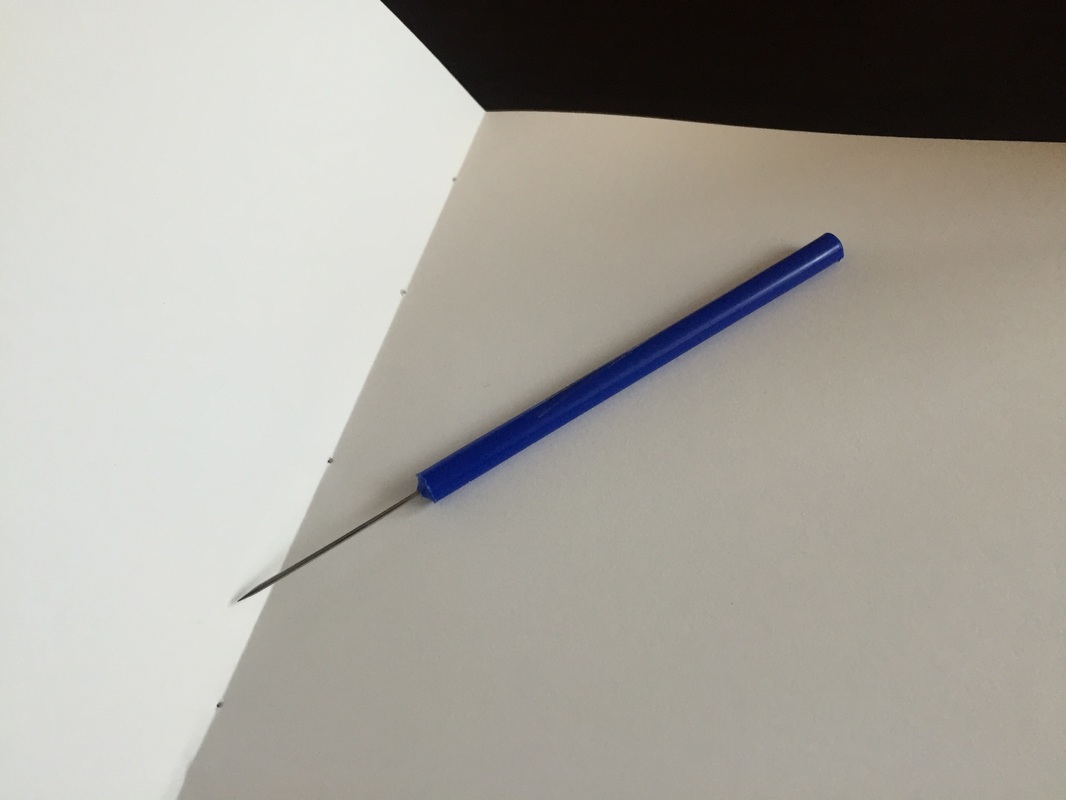 Using blunt bookbinding needles and waxed thread I sewed the first set of four sheets starting from the back in the center hole.  I finished sewing it shut in the middle hole and tied the string off, flattening the pages again using the bone folder. 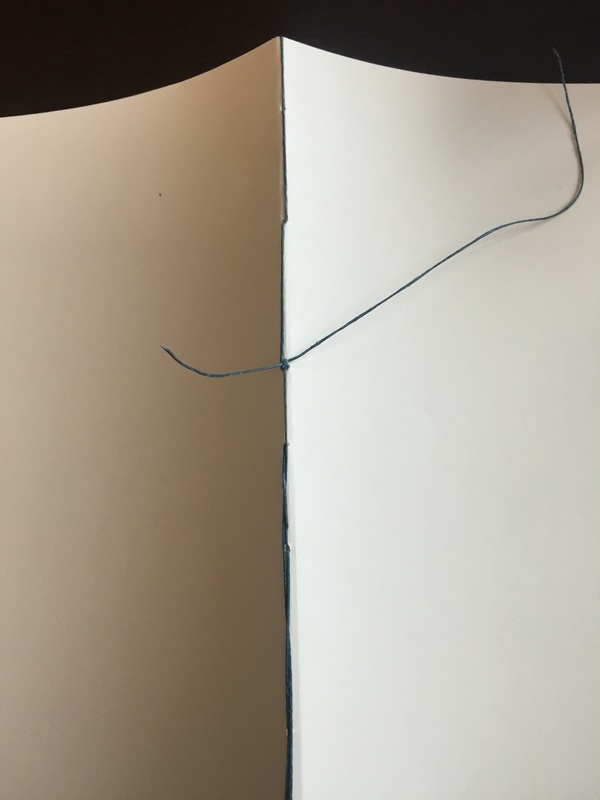 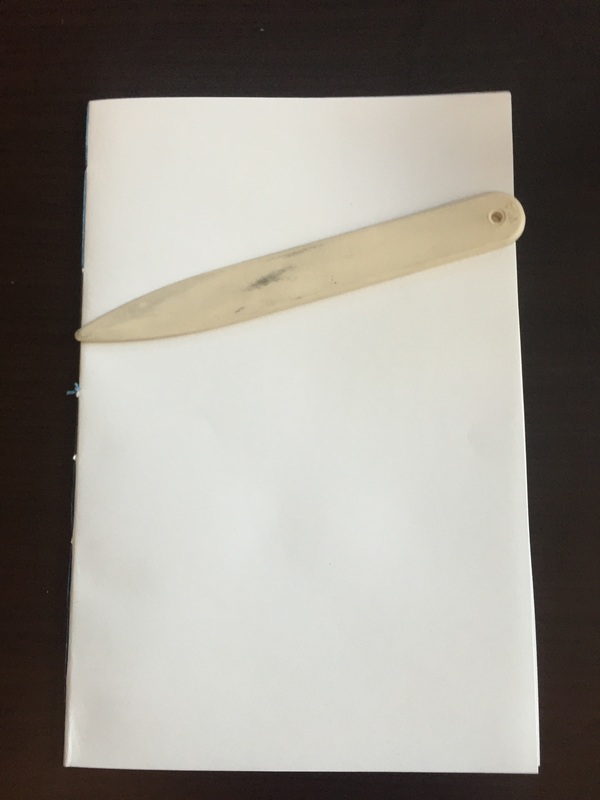 Once I'd made my book as thick as I wanted it, I pressed the pages under a heavy book and pasted the edges. Once the paste dried I cut a piece of cloth to cover with paste and put against the spine. After that, I cut the cover out of a leftover poster I had designed for my computer art class and pasted it on. 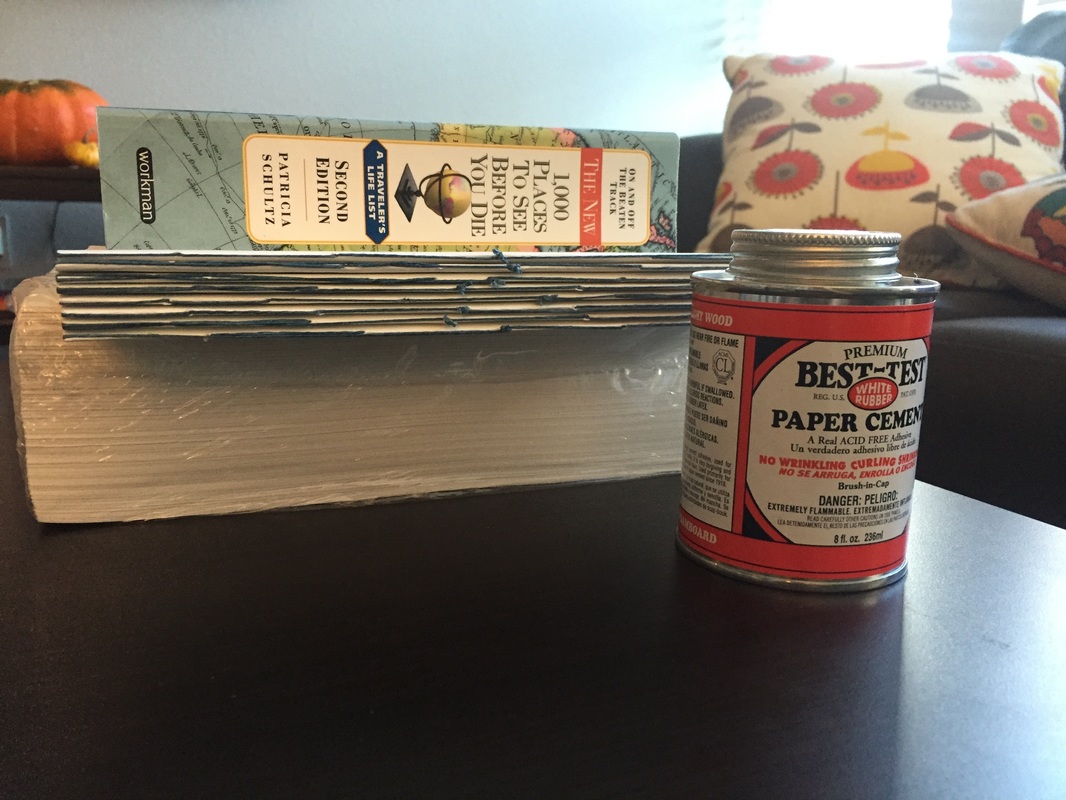 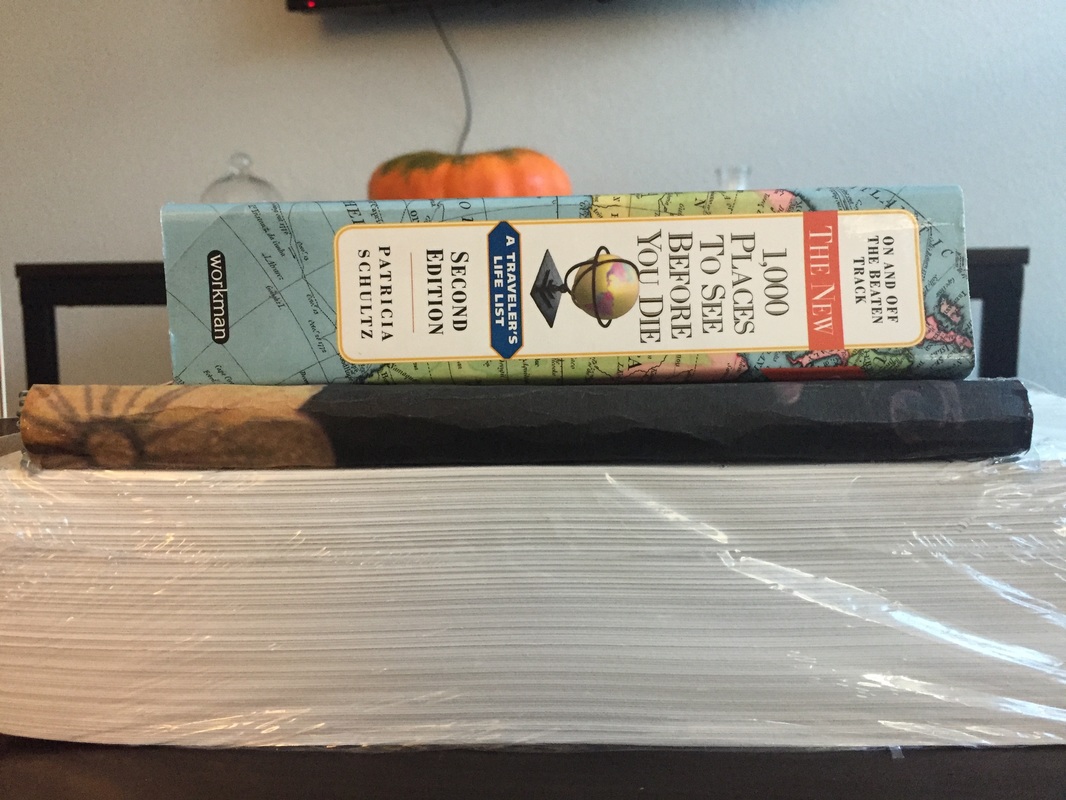 Here's my finished product. 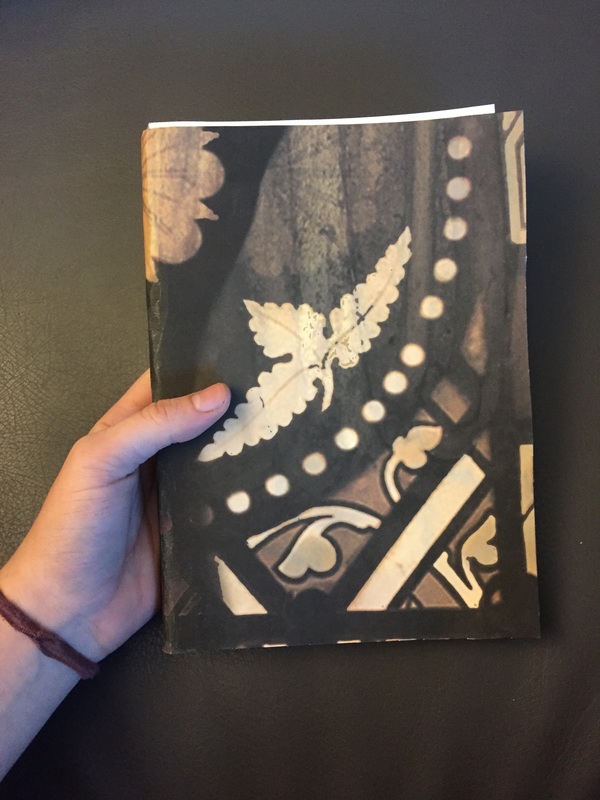 I'm kind of cheating here because this isn't a recent project, but oh well. Over the summer, I took a bunch of foundations art classes at Ball State so I could switch my major to Visual Communications Design without being in college for five years and one of those classes was my first experience with sculpting, or any 3-d work. We practiced with a lot of mediums in that class, working with wire and even doing a glass pour, but by far my favorite thing to work with was wood. I wasn't sure going into the project because I'd always had kind of an aversion to 3-d work, but I thought wood was great to work with. The tools were fun to use and the material was really beautiful where you let the wood grain show through. For my project I made a bas relief of an Alice Neel portrait of "Frank O'Hara". 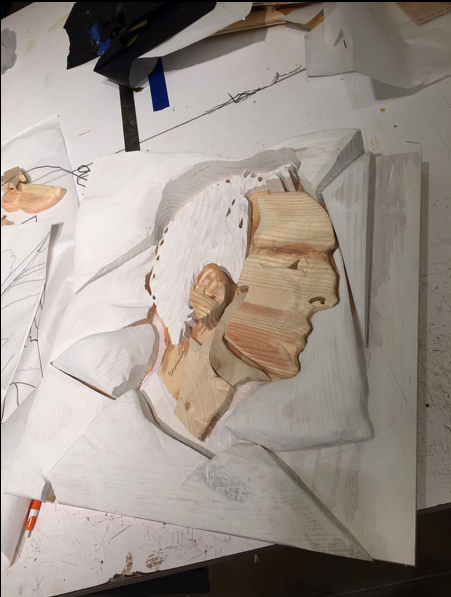 Originally I picked the painting because I loved his profile with his wonky nose but I ended up altering the background to give it more dimension. I shaped the wood pieces, priming the parts I was going to paint with white.  I painted the shirt, hair and background with acrylic and the face (where I wanted a wood grain to show through) I barely covered with watered down acrylic. 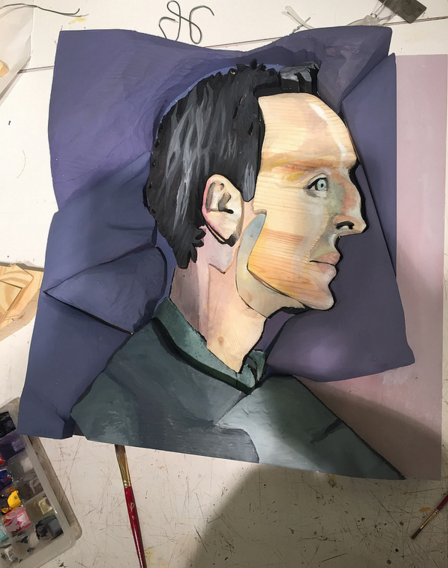 Once I'd painted everything how I wanted it, I attached it to the wooden frame in the back and then added on the black outer frame. 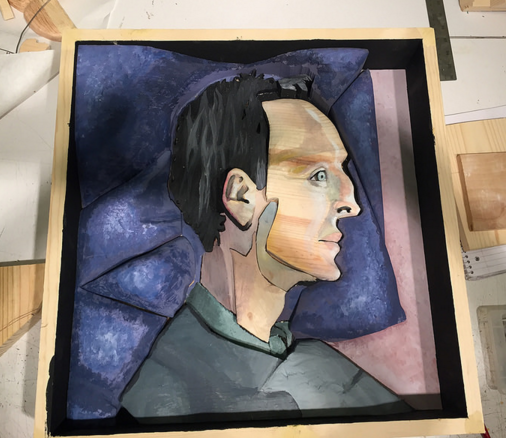 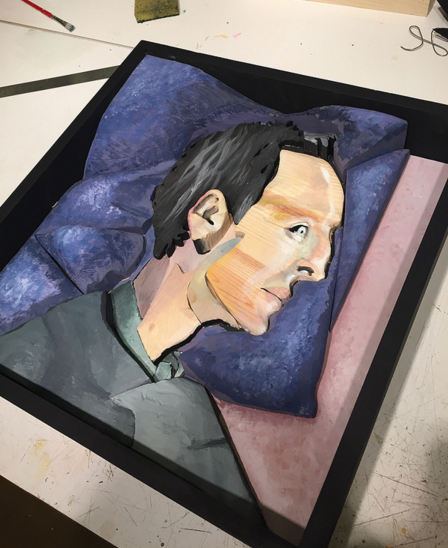
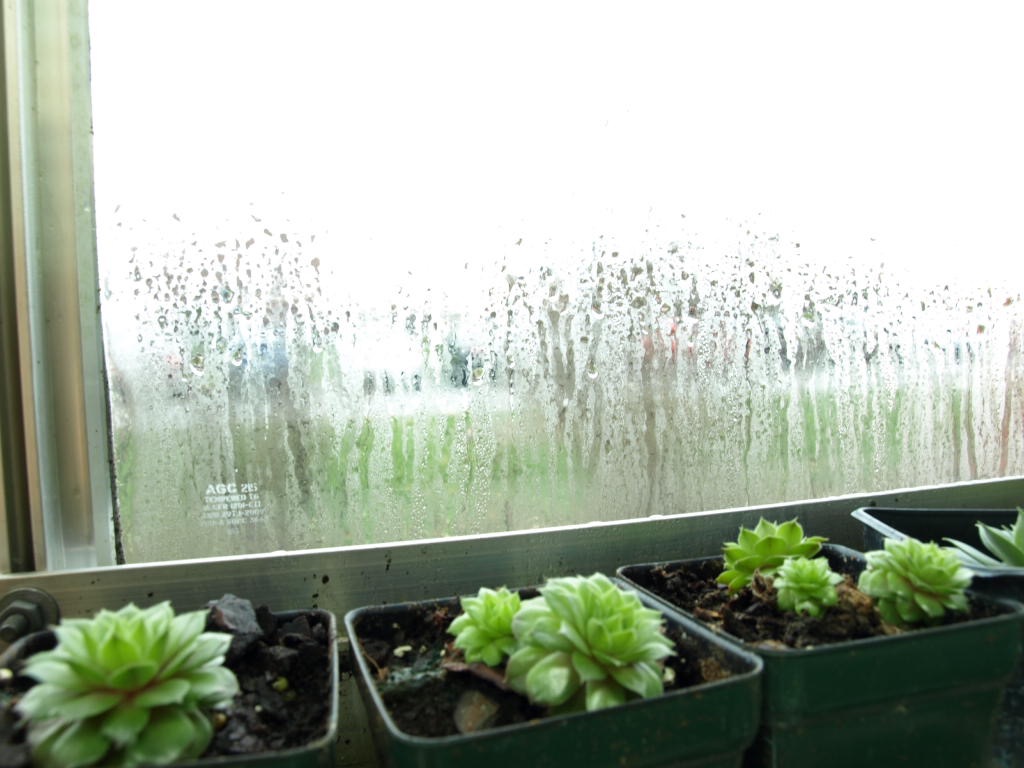
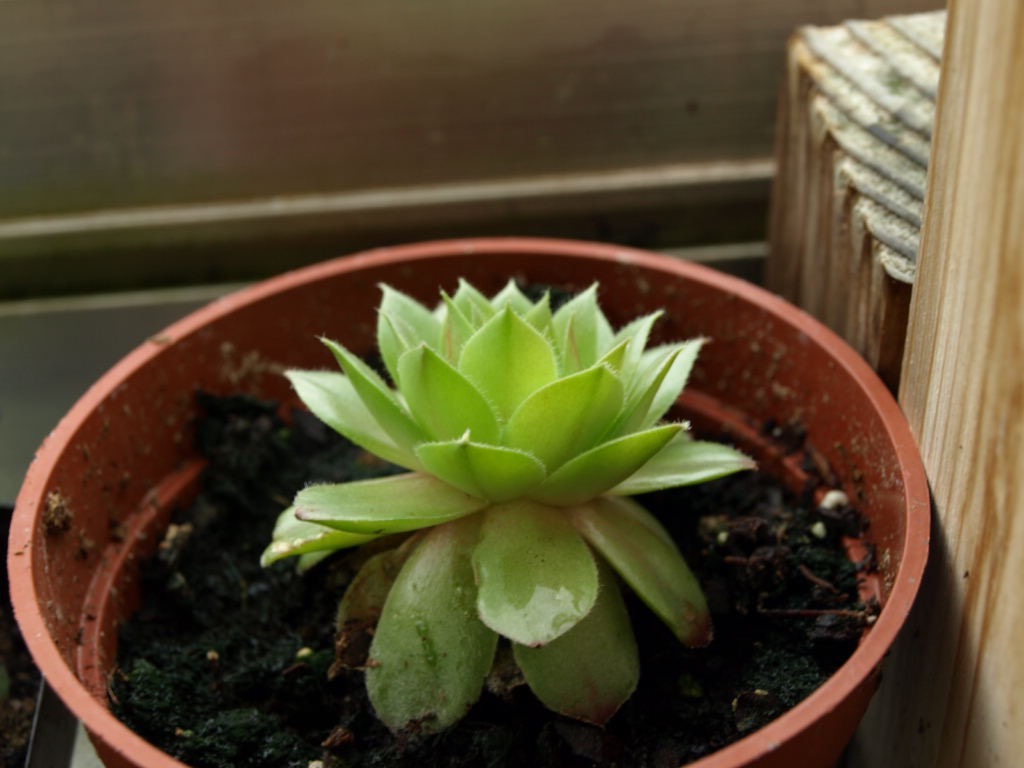
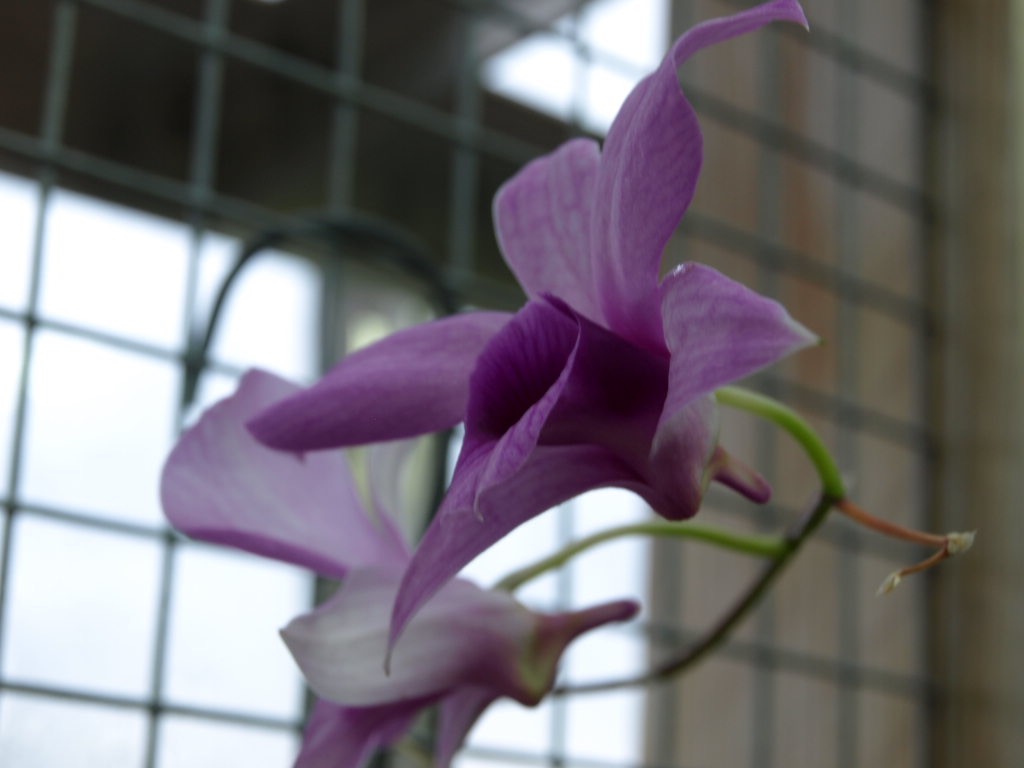
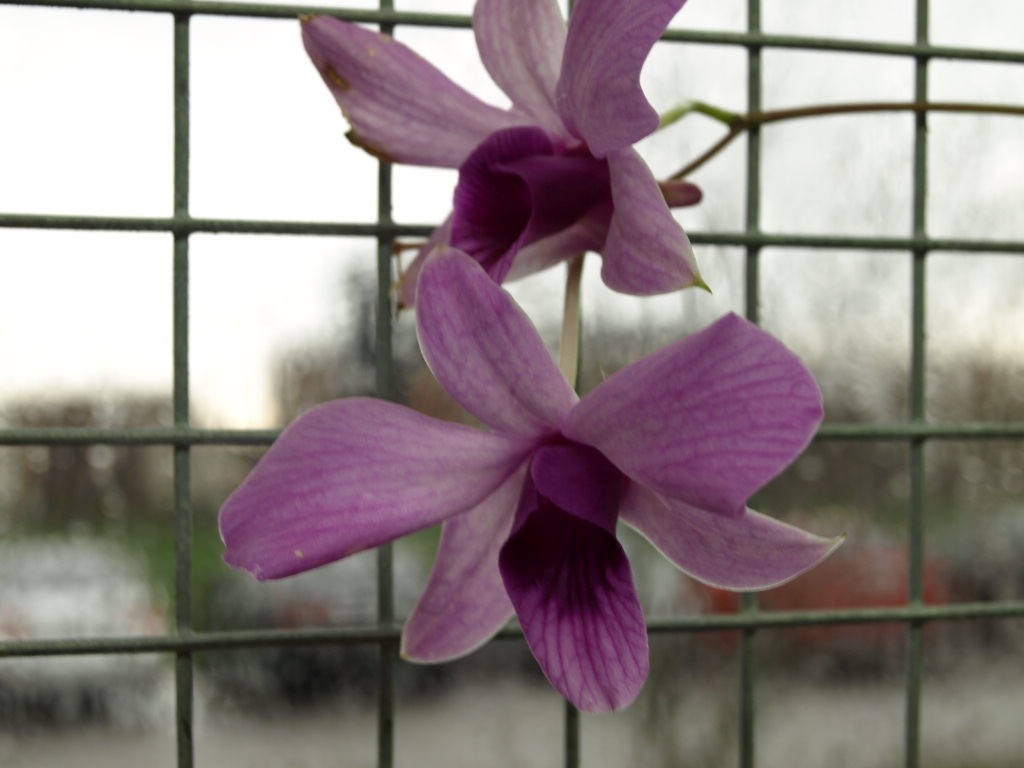
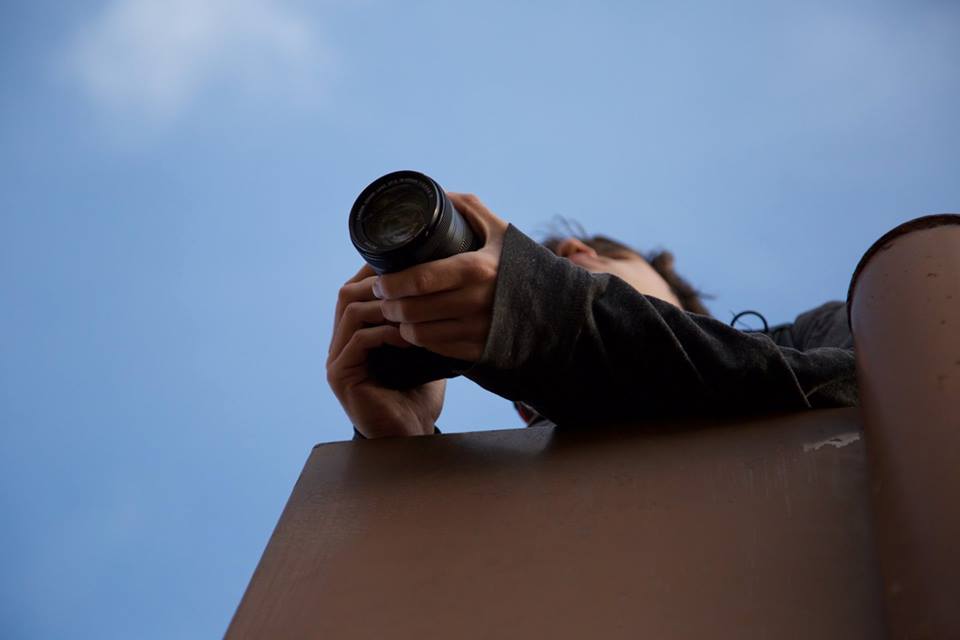
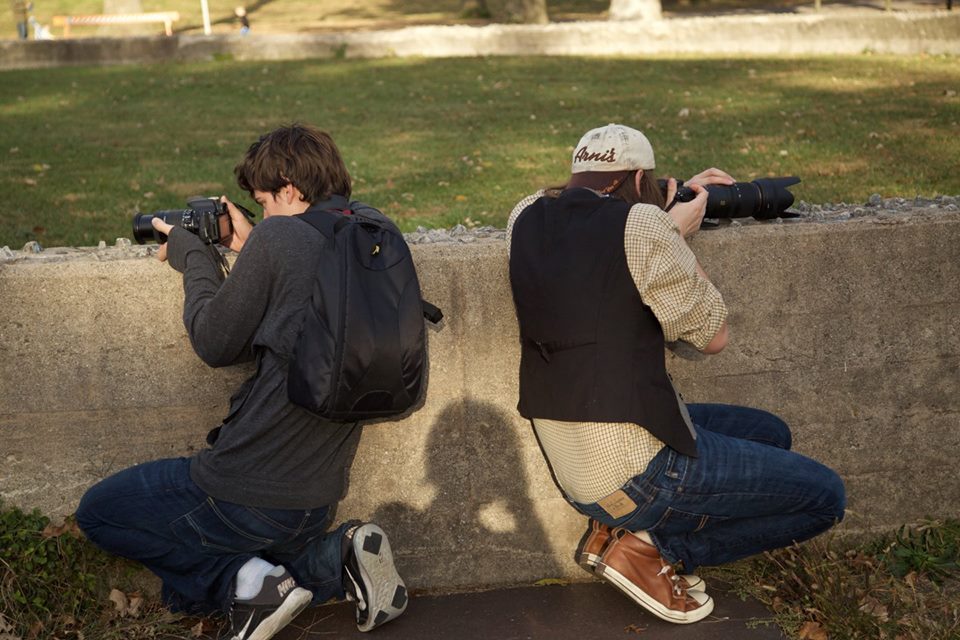
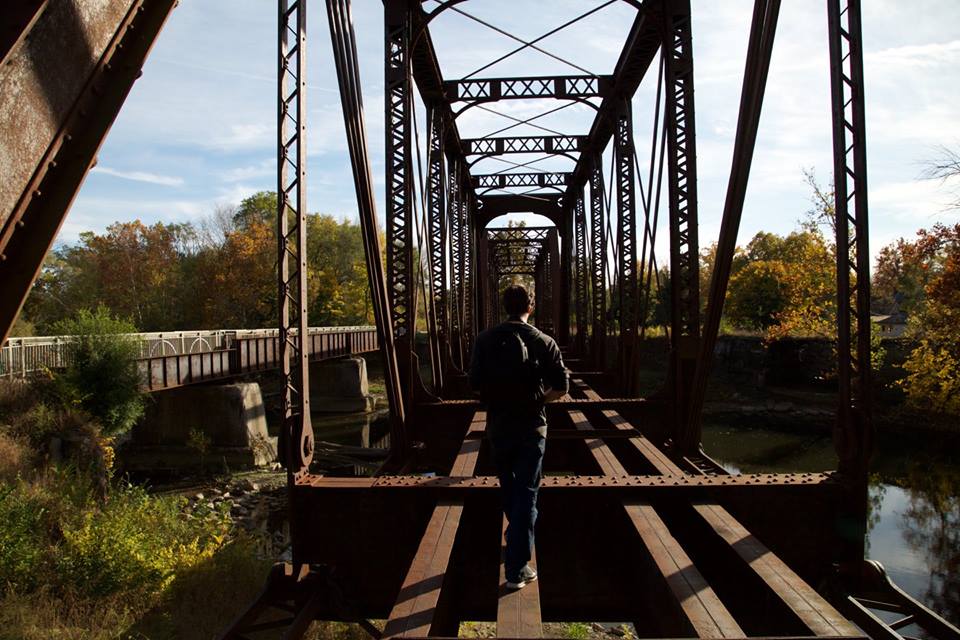
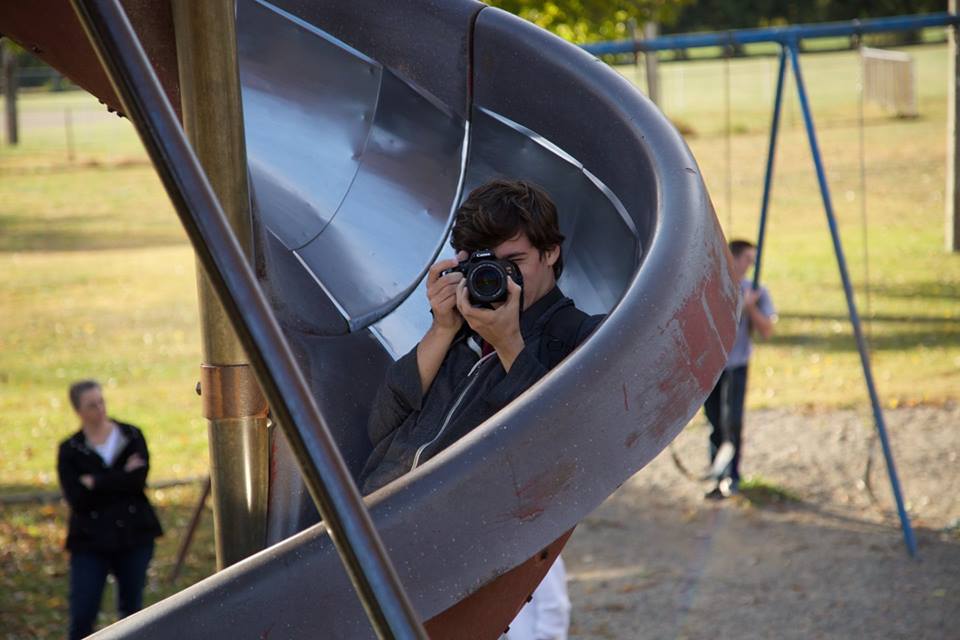
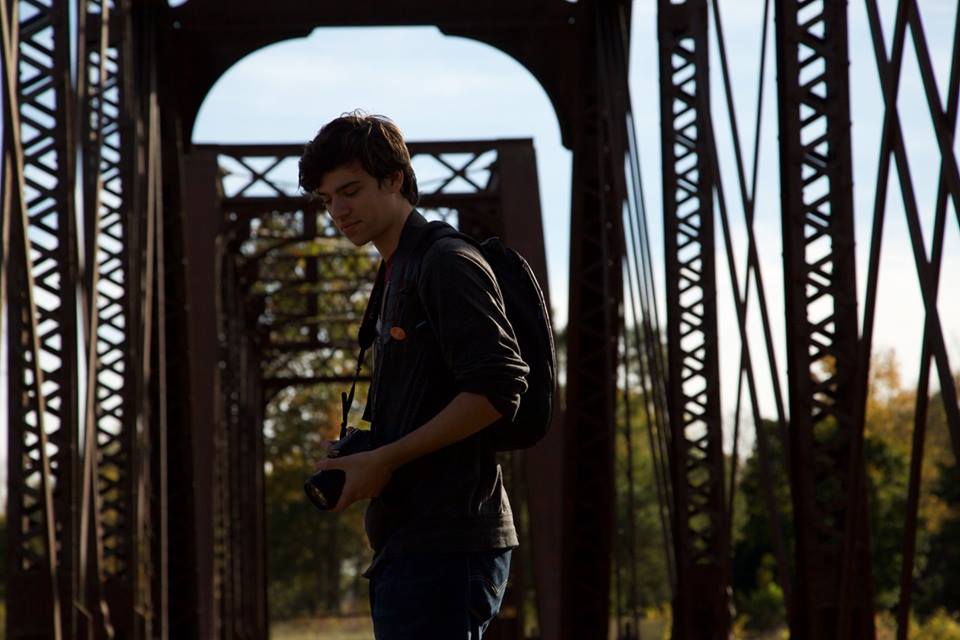
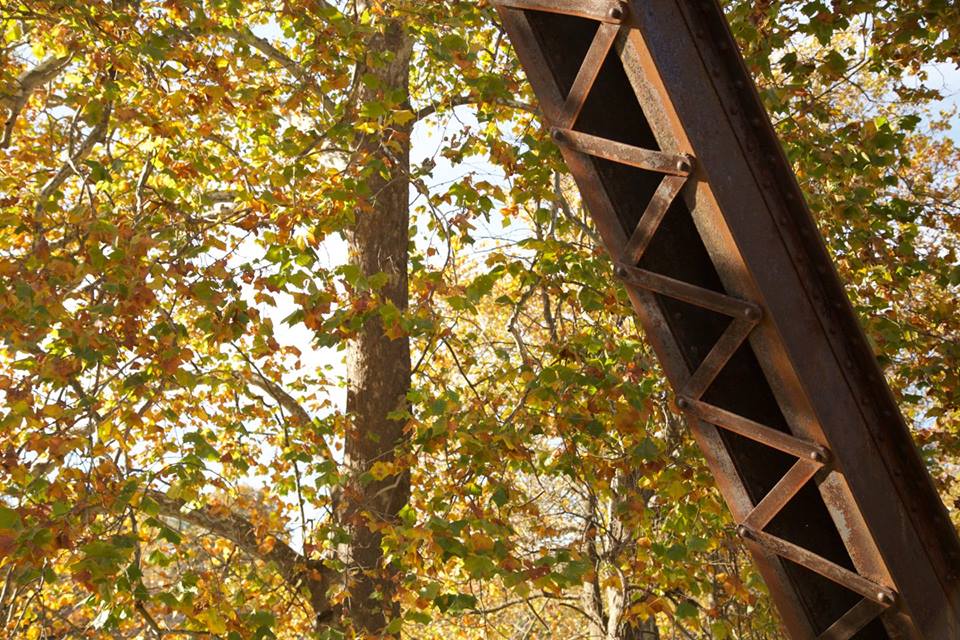
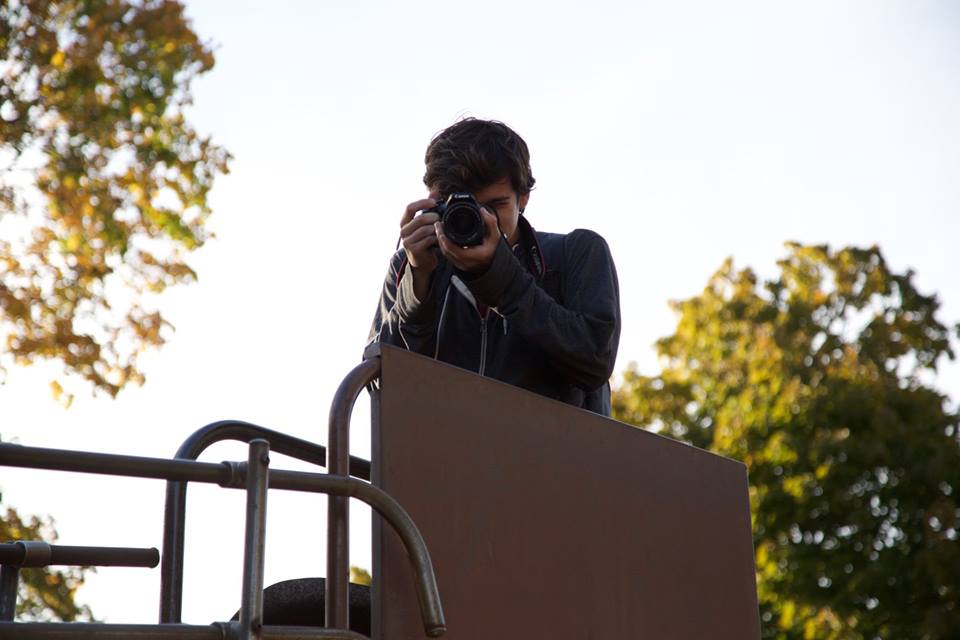
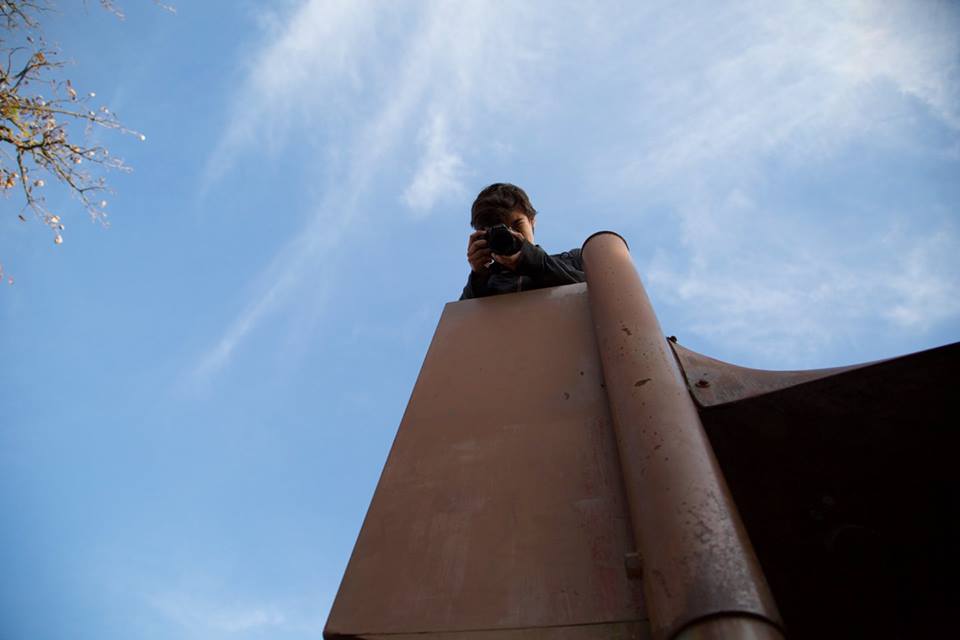
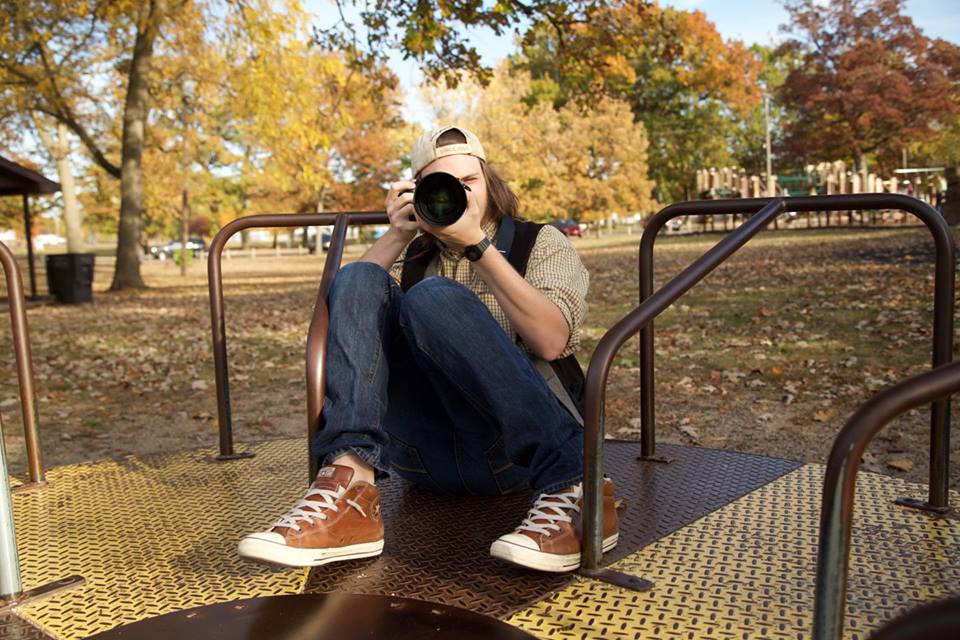
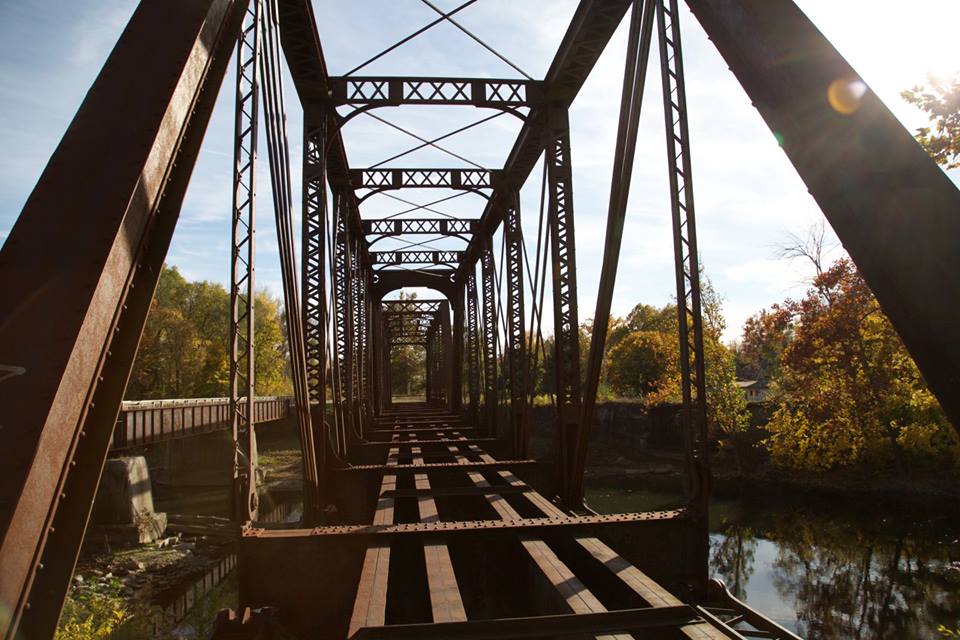
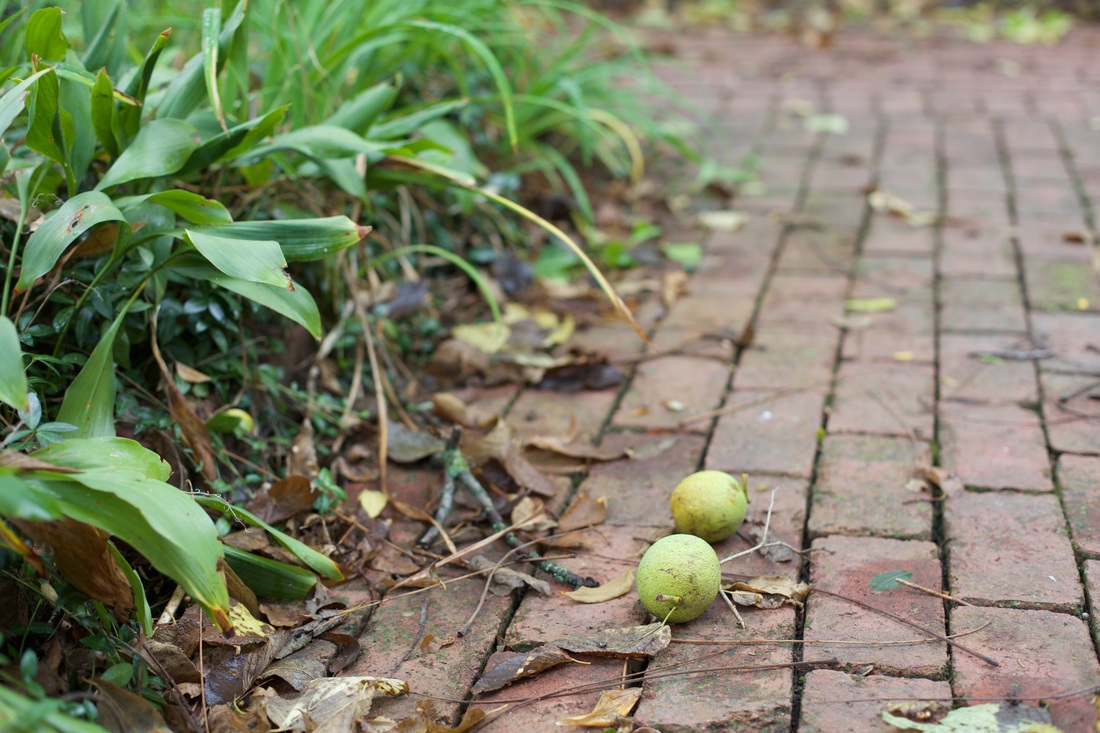
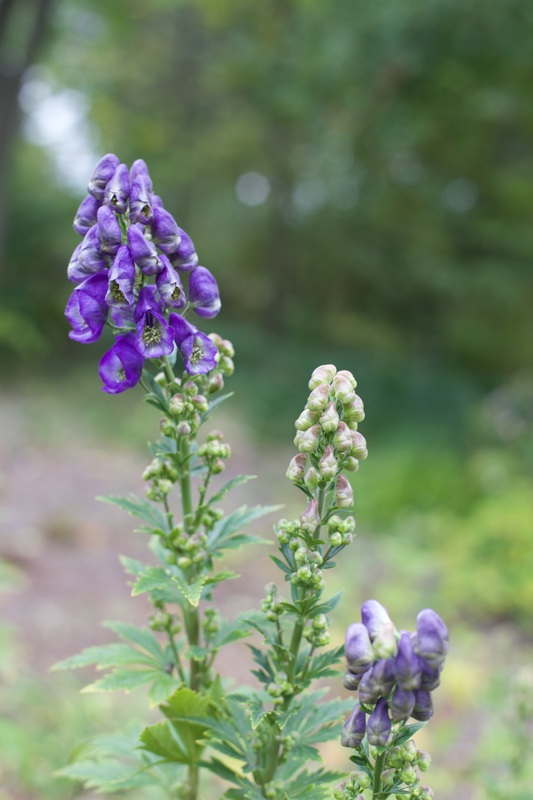
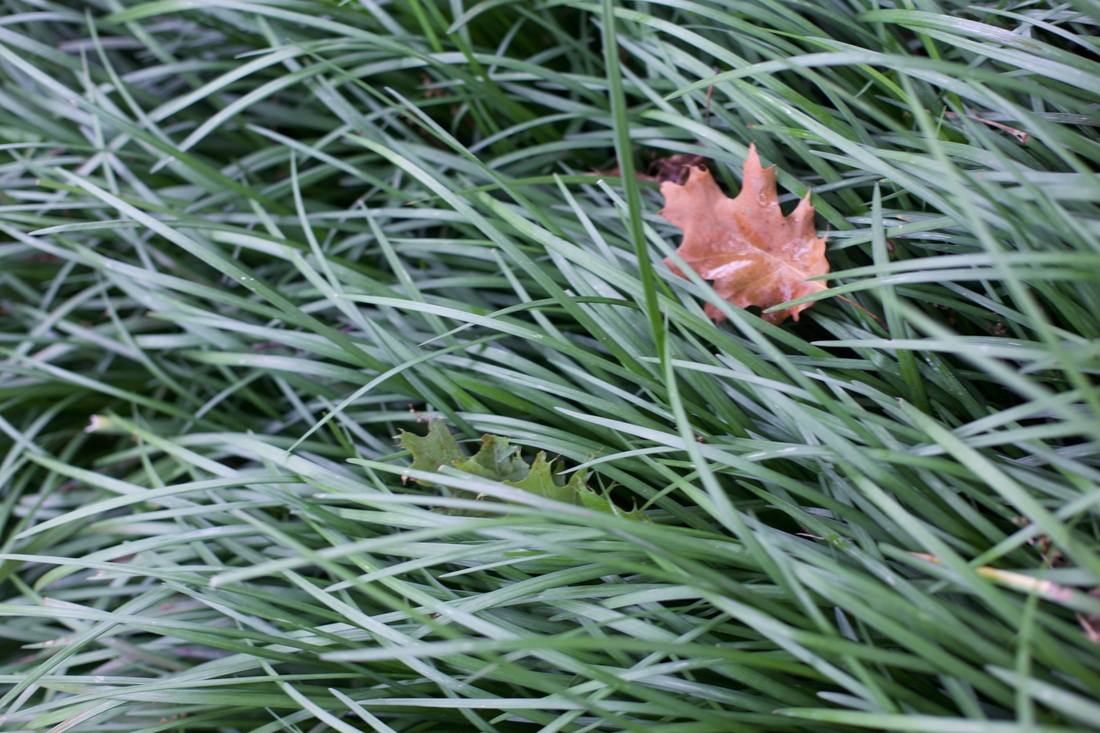
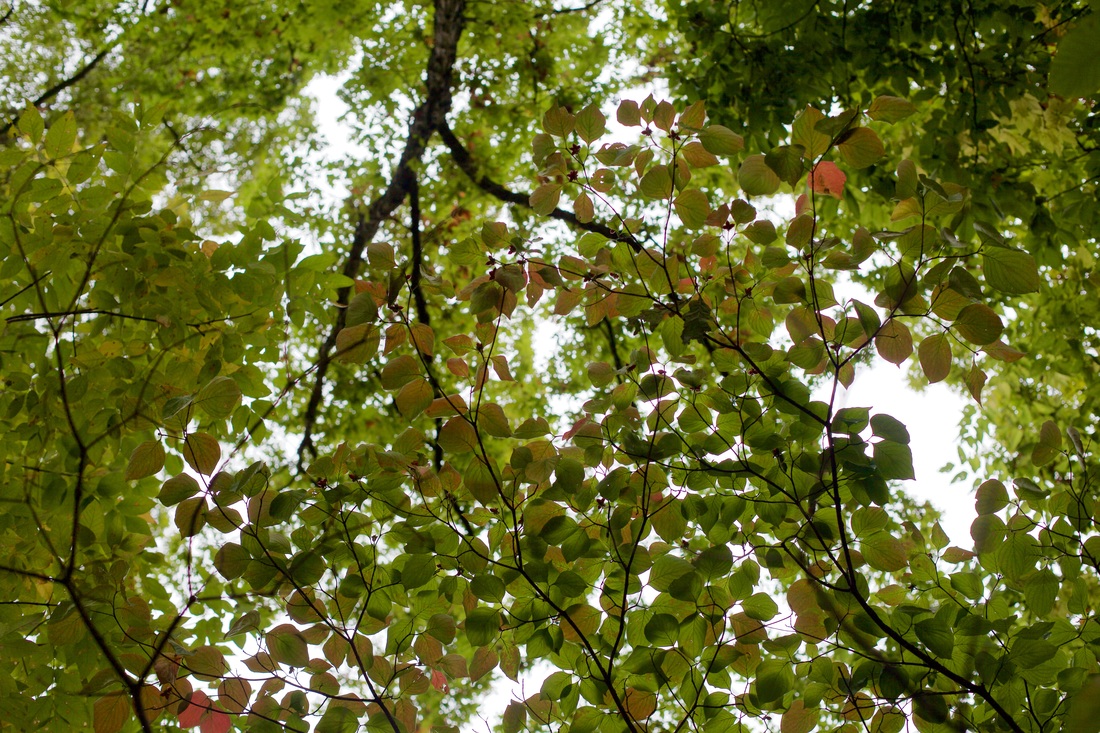
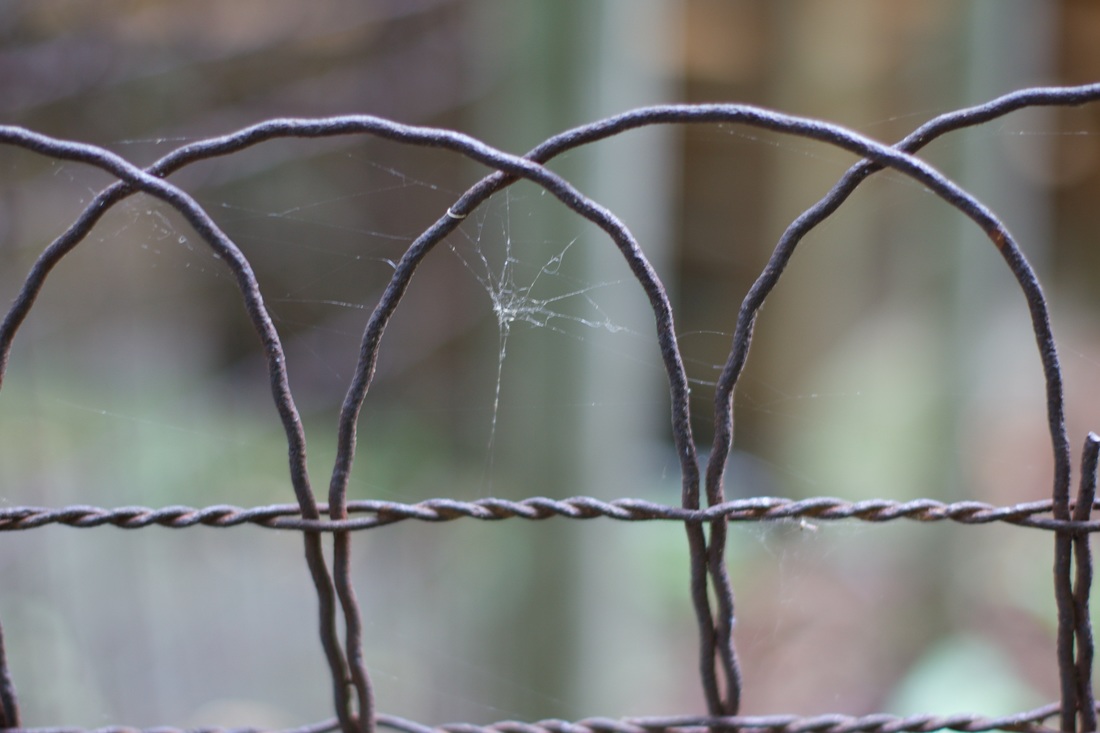
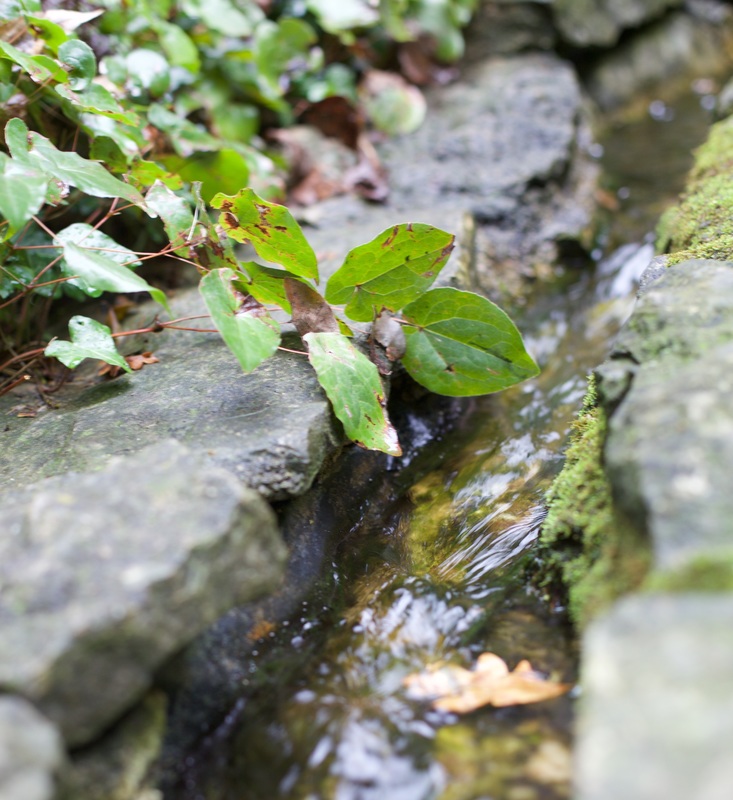
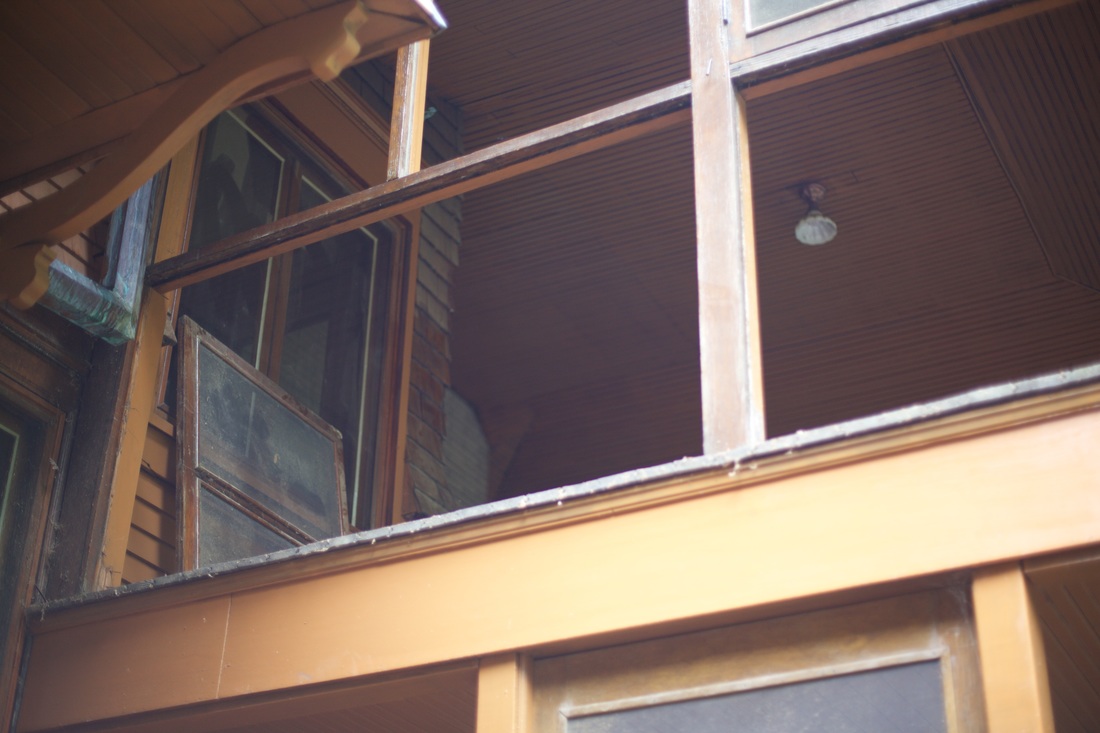
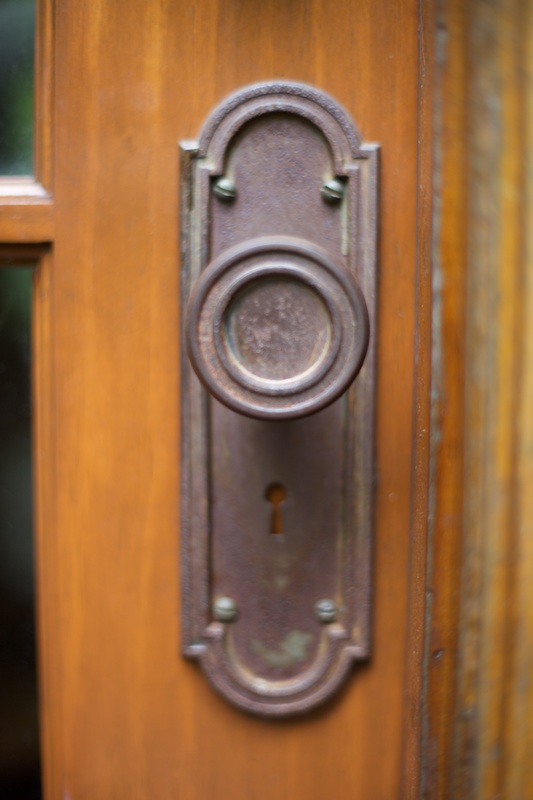
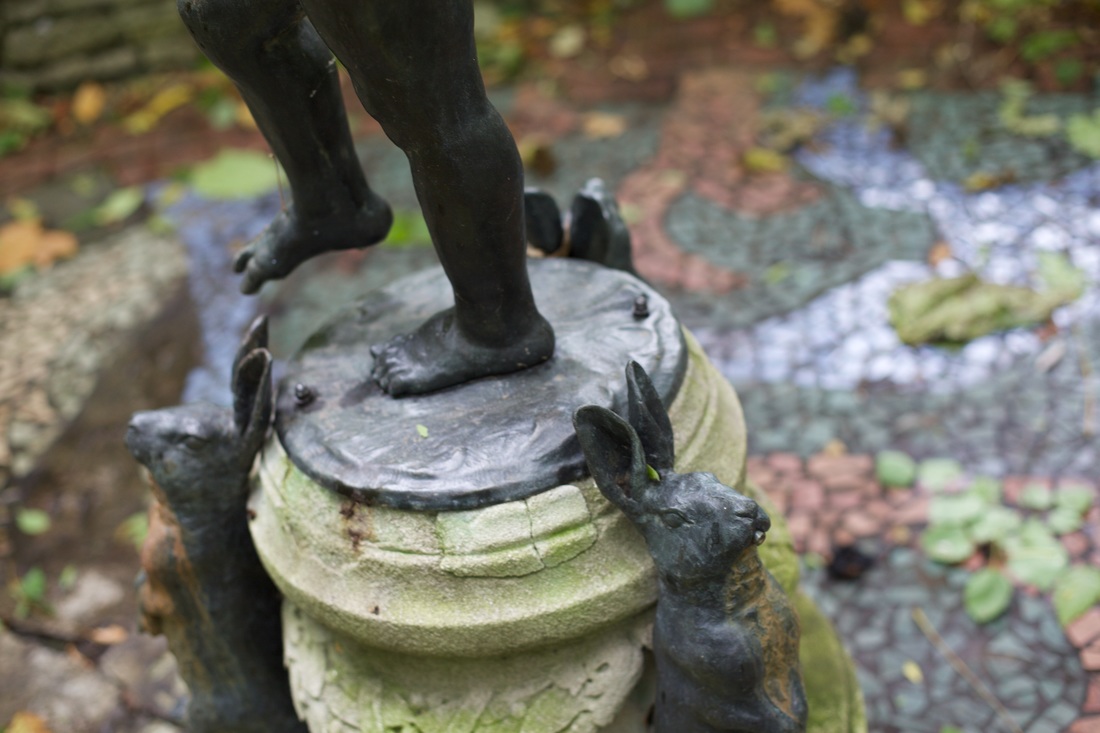
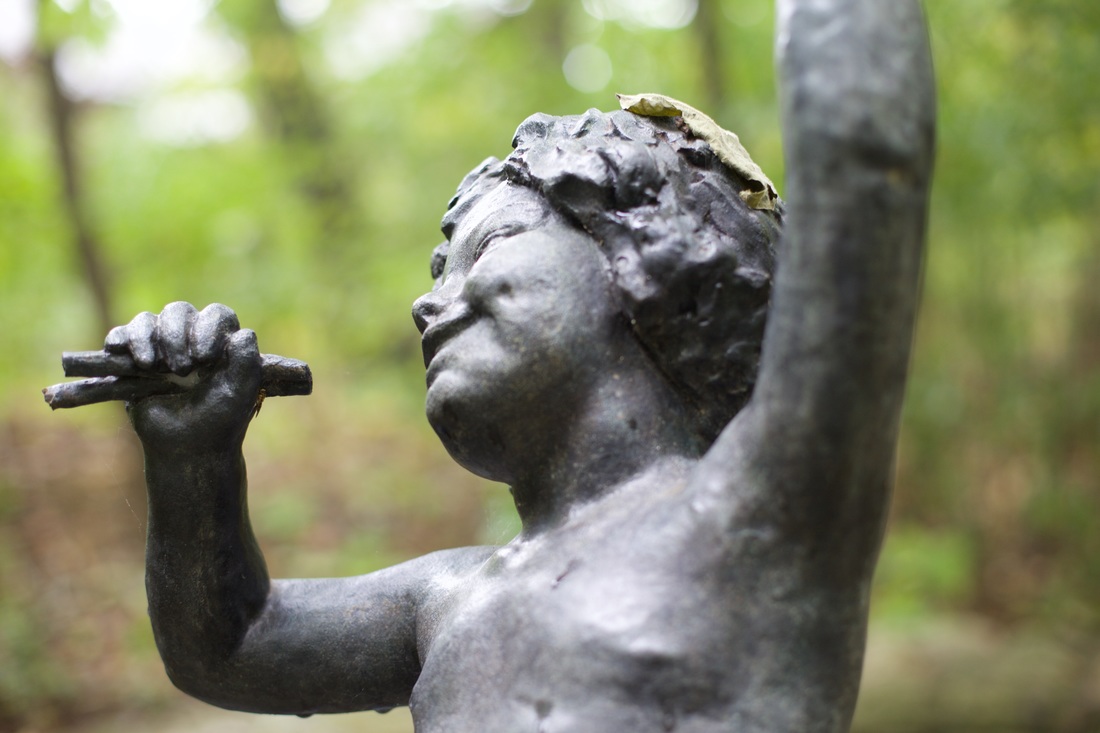
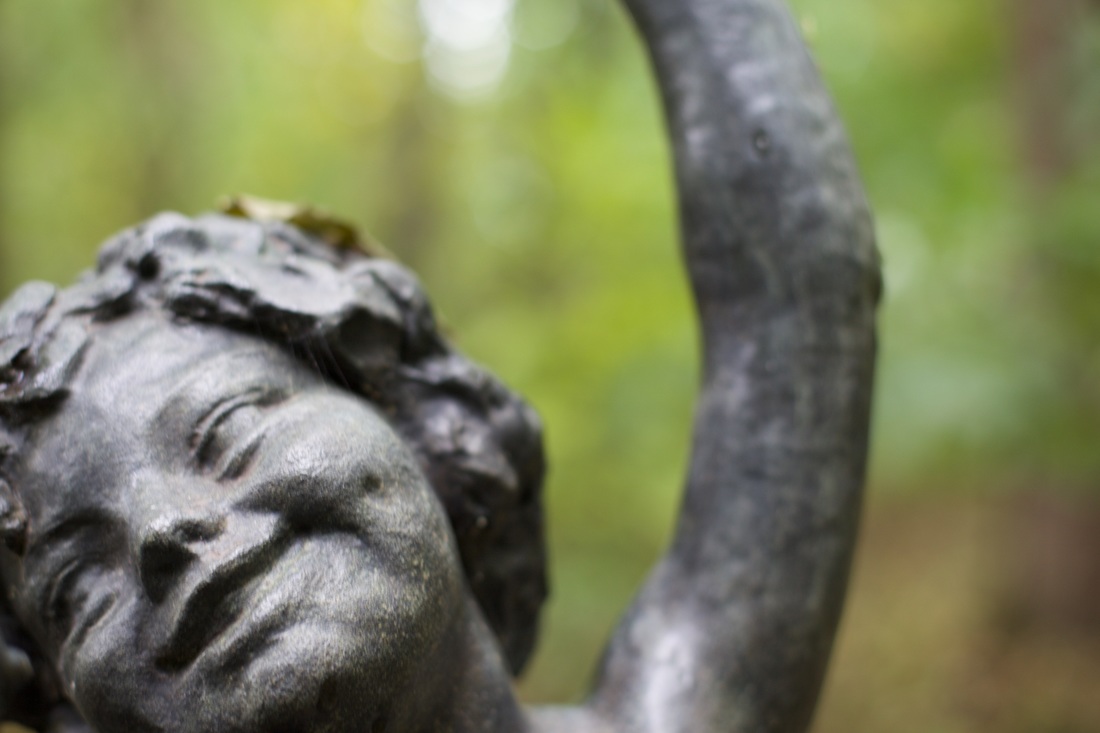
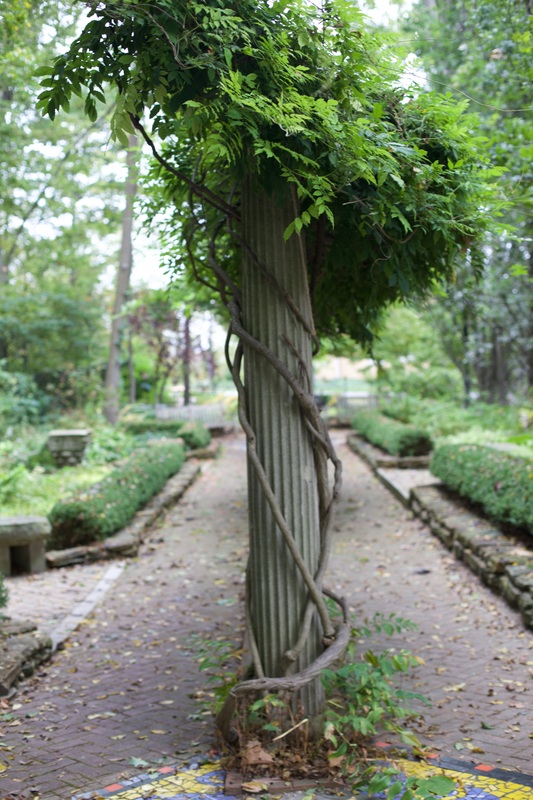
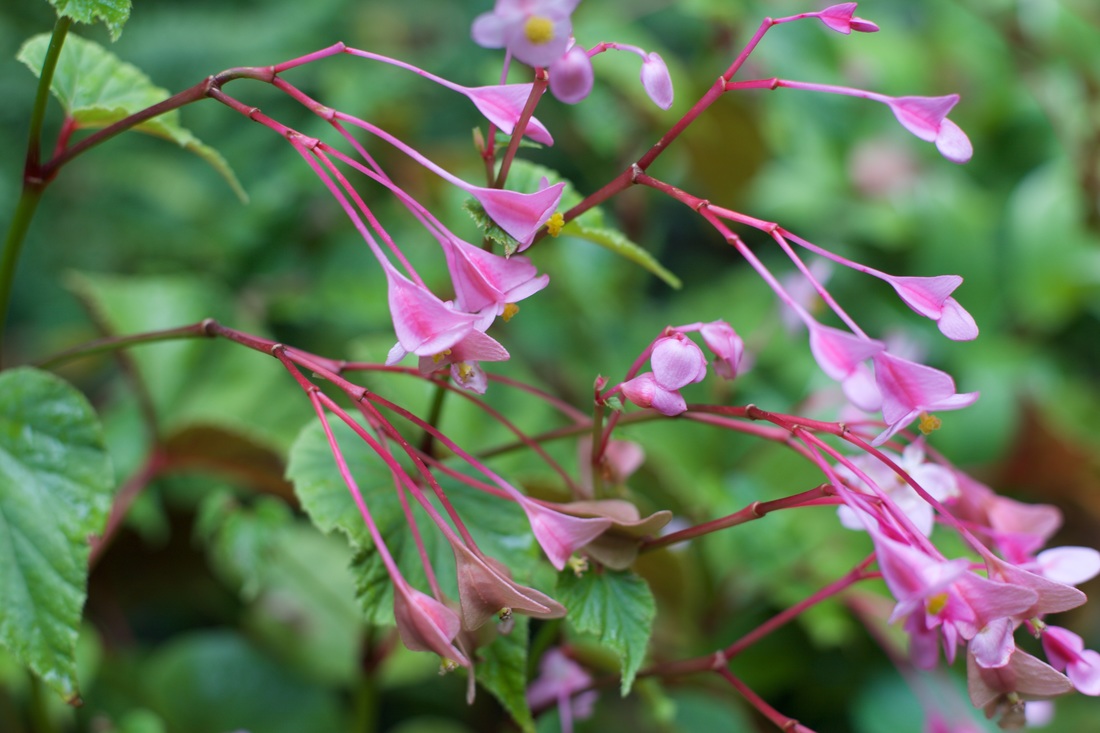
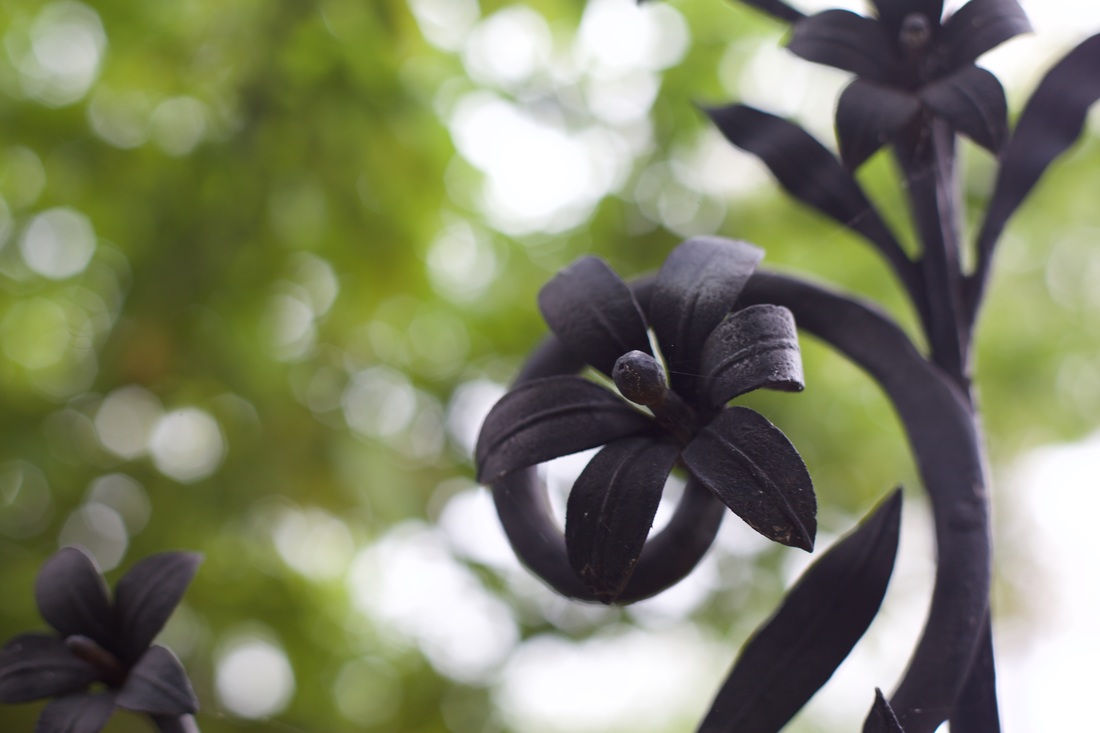
A Ball State spam email actually convinced me to do something. I got an email about a weekend-long iron-casting class coming to campus. I'm taking a metals class next semester and I wanted to get some practice in with a new material, so I signed up for an Iron Casting Workshop through David Owsley's Museum of Art. 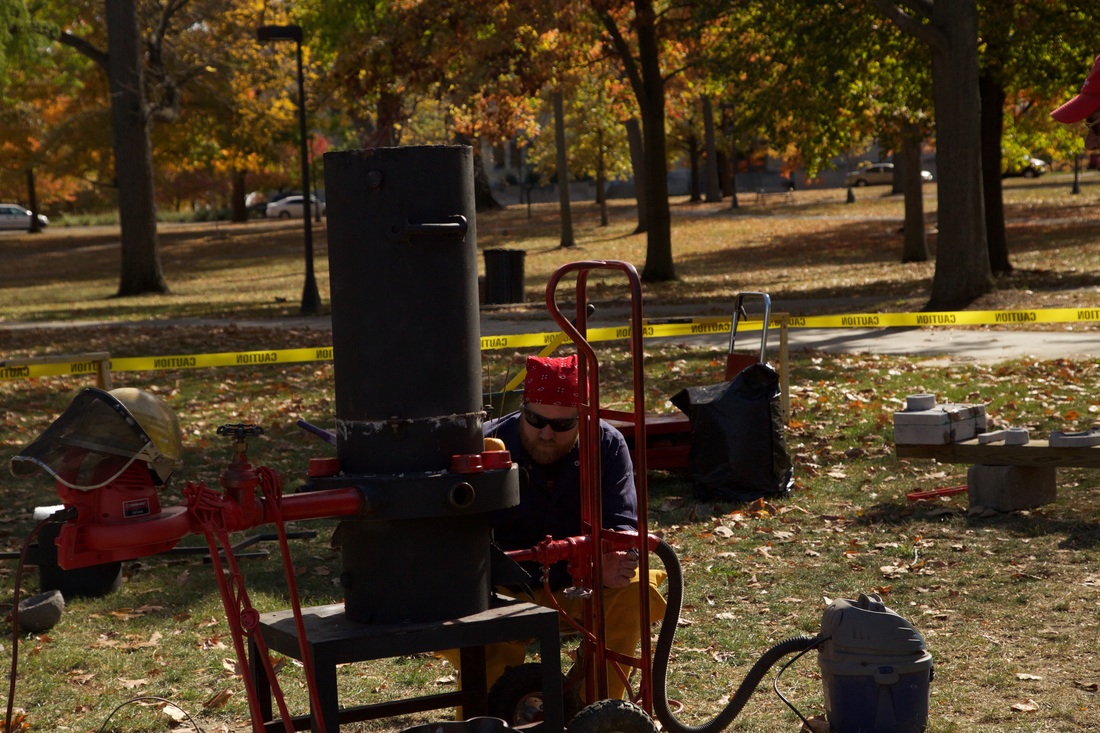 We were given sand blocks to carve into and a nail wrapped in duct tape. I used the nail and a butter knife to carve a snake into my block. 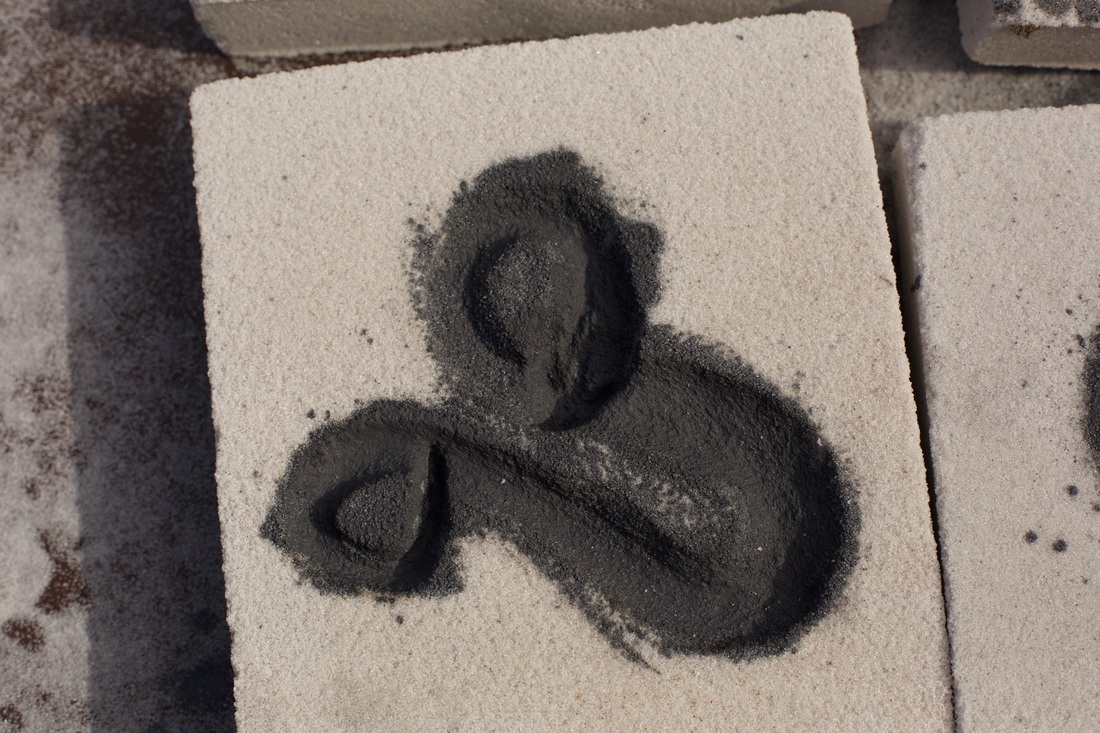 On Sunday, we met at the museum where they had set up equipment to heat the iron and tables where we could prepare our blocks. 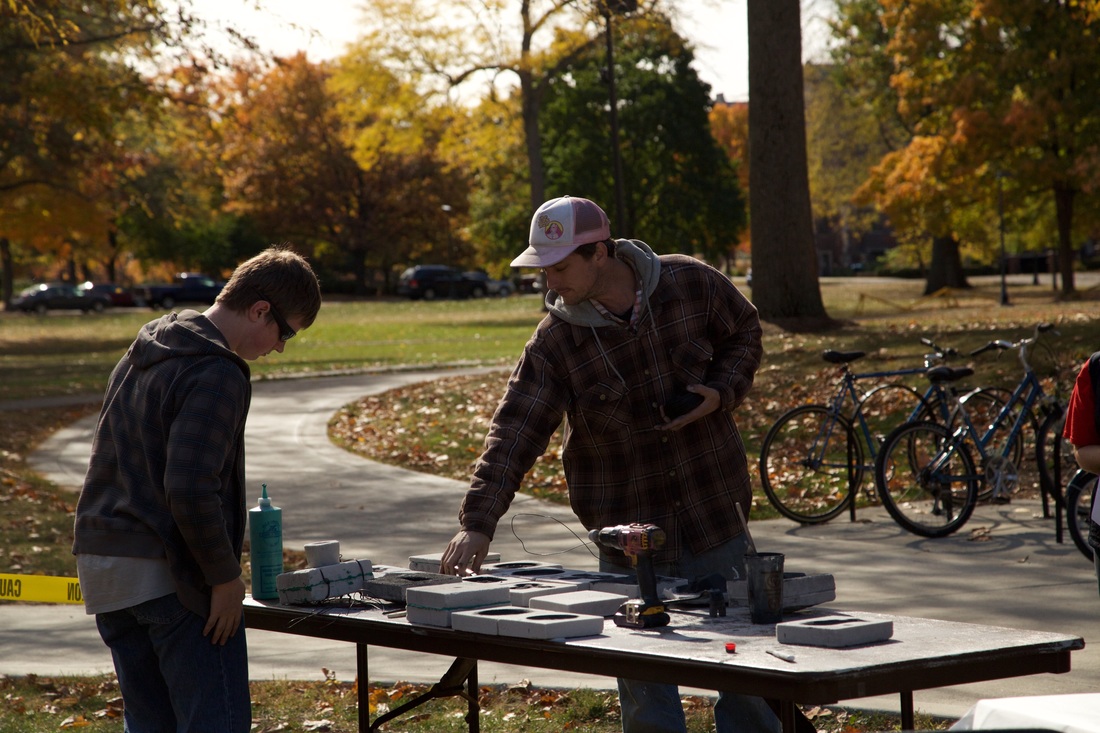 Once our blocks were done we painted them with a black liquid that had to be burned off so the molten iron didn't cool with sand in it. 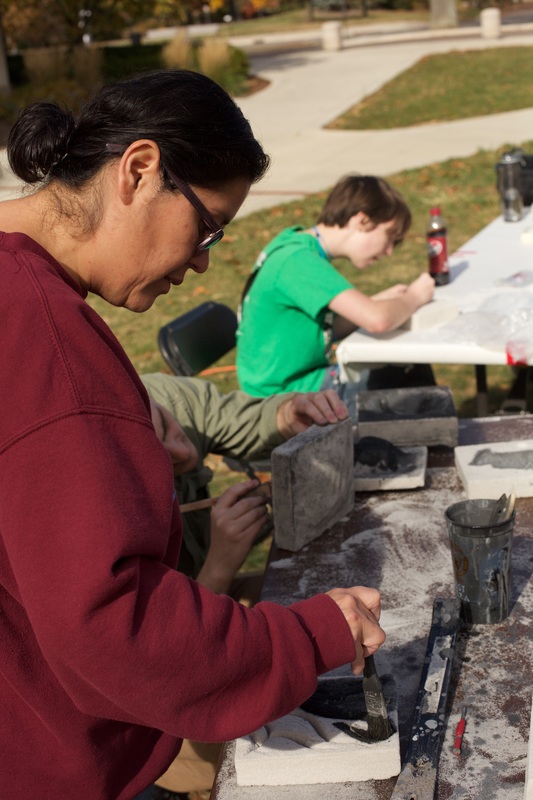 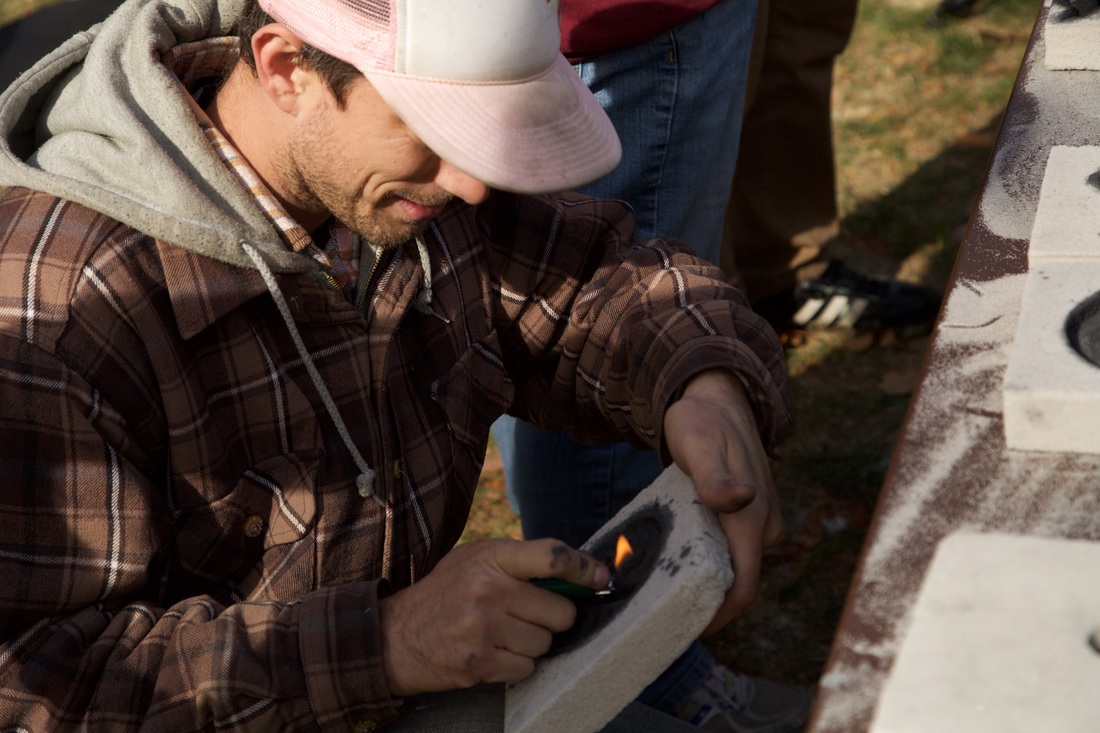 Once the blocks were ready, we drilled holes into them that the metal could be poured through to fill the molds. 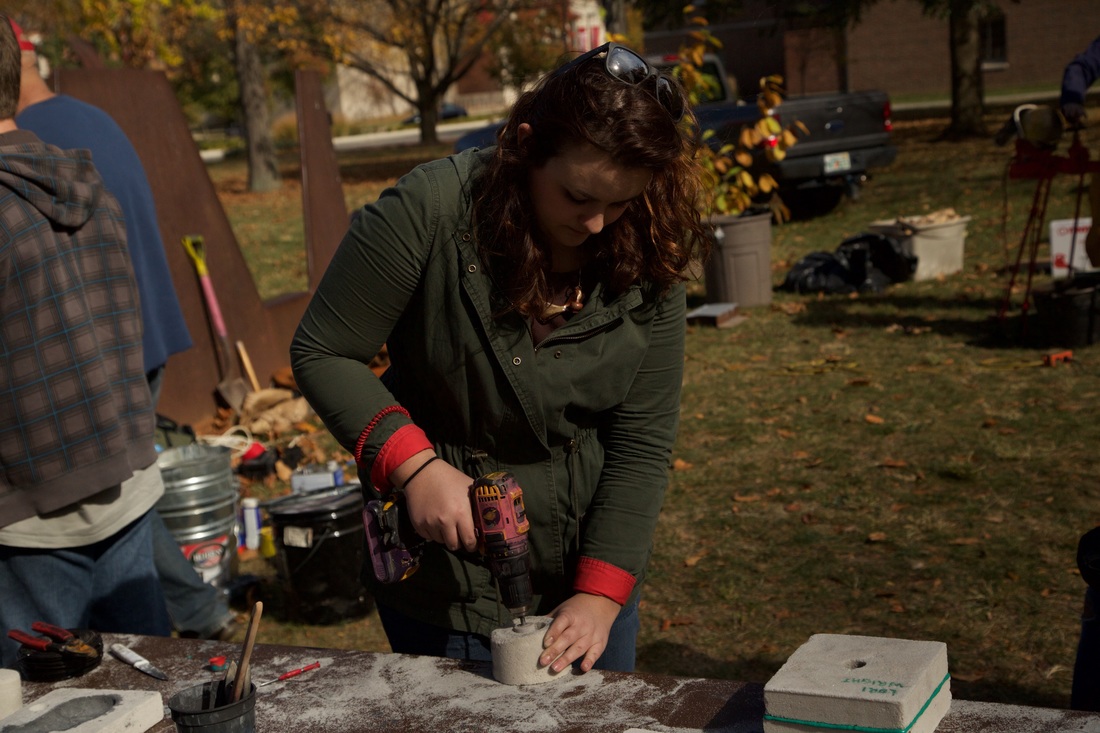 With that ready, we put a bead of glue around the edge and put the blocks together, tying them shut with wire. 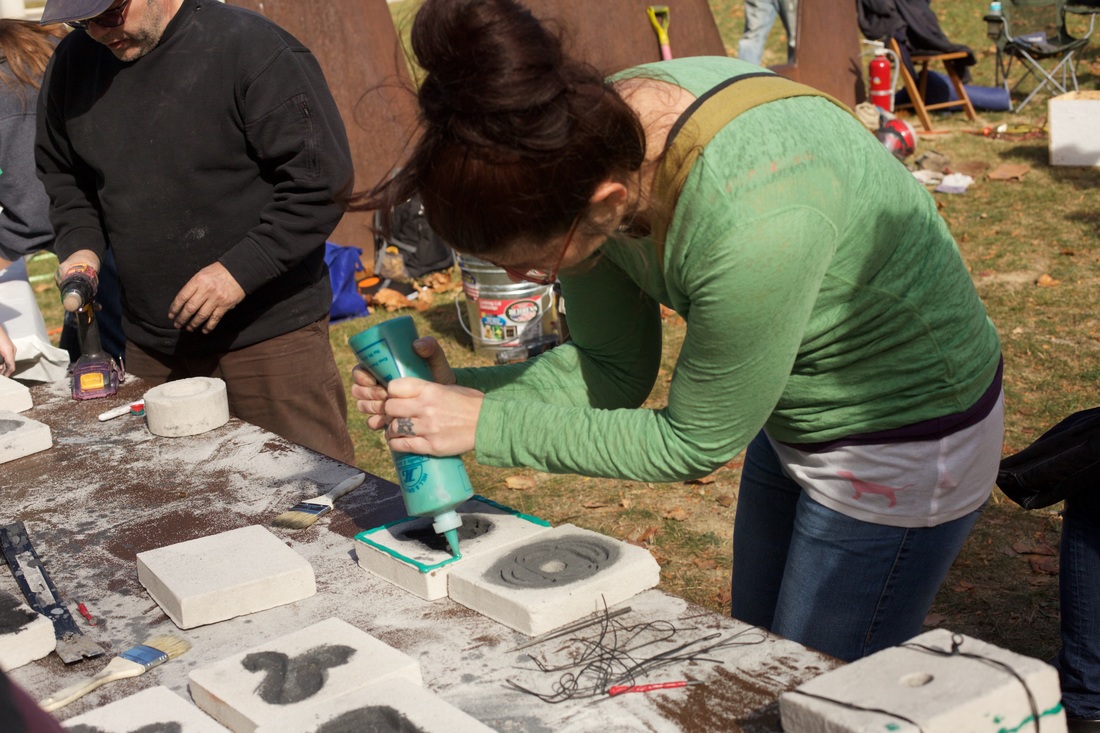 The instructor took it from there, pouring molten iron in our molds. He took our molds back to his studio to cool and to sand down the rough parts. He said they'd be ready for us to pick up in a week or two. Here's my finished snake! I walked to a local park and took pictures with a Canon Mark ll that I borrowed from work. I haven't done much photography before, so I decided to practice before I take it next semester. |